The Complete Guide to Wooden LED Light Boxes: Materials, Construction, and Creative Applications

You can use wooden led light boxes for tracing, stenciling, and interactive learning. These diy led lightbox projects blend natural wood with bright LED light. When you switch on your diy led lightbox, you get smooth light that makes tracing easy. Many artists and students enjoy tracing with a diy led lightbox. Wooden led light boxes add style and function to any room. You can build a diy led lightbox without special skills. Let your creativity shine with tracing and light every day. A lightbox brings your ideas to life.
Key Takeaways
Wooden LED light boxes can be used in many ways. You can use them for tracing, stenciling, and showing off art. They help make your art and learning better.
Making your own LED light box is simple. You only need plywood, LED strips, and some easy tools. You can change the size or shape to fit what you want.
Clean your light box often to keep it working well. Cleaning helps the light stay bright and even. A clean box makes tracing and art look better.
LED light boxes work well at home, in class, or at work. You can use them to show art, messages, or holiday pictures. They help you share your ideas in a cool way.
Pick good materials and tools for your light box. Good choices make your light box last longer and work better.
What Is a Lightbox?
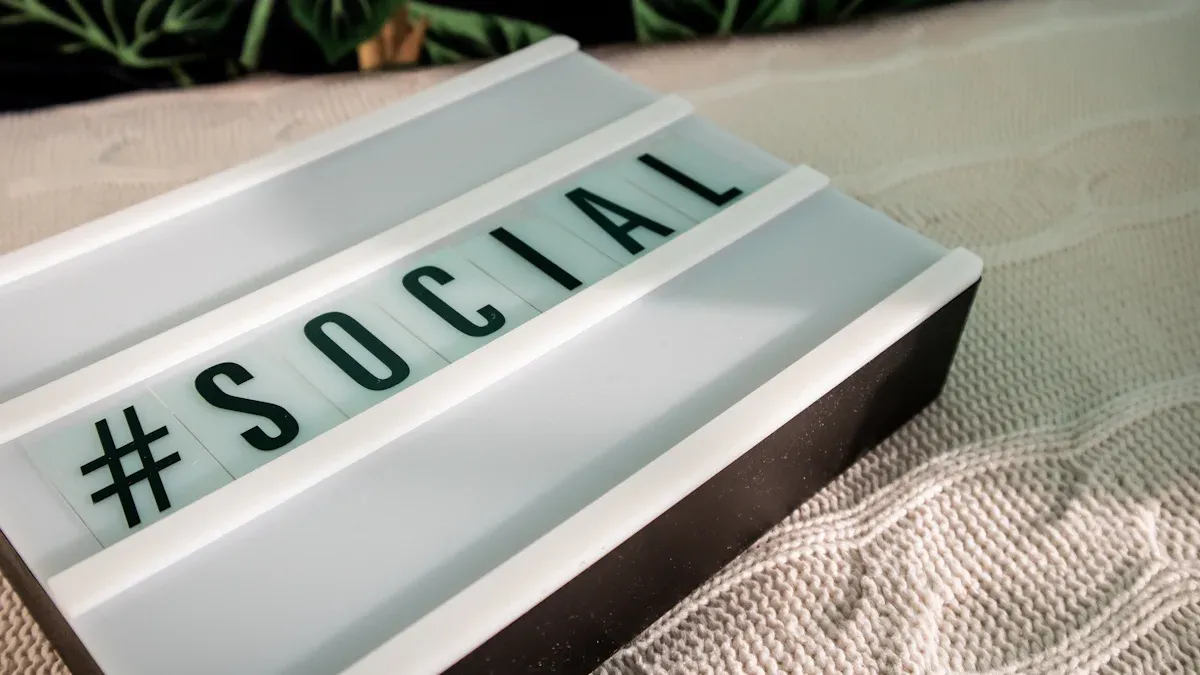
A lightbox is a simple tool that helps you see things more clearly. You place your paper or object on top, and the light shines up from below. This makes it easier to trace, draw, or read details. Many people use led light boxes because they give bright, even light. You can use a lightbox sign to show messages or art in a fun way. When you use a lightbox, you get a smooth glow that makes your work stand out.
Key Features
Bright, even light: Led light boxes use LEDs to give you steady light. You do not see dark spots or flickers.
Sturdy frame: Most lightbox signs have a strong wooden or plastic frame. This keeps your content safe and flat.
Easy to use: You just plug in your led light boxes and start working. You do not need special skills.
Portable: Many lightbox signs are light and easy to carry. You can move them from room to room.
Customizable: You can change the content on your lightbox sign. Add new letters, shapes, or art whenever you want.
Tip: If you want your content to look its best, always use a clean lightbox. Dust or smudges can block the light.
Common Uses
You can use led light boxes for many things. Here are some popular ways people use a lightbox:
Tracing art or photos
Making a lightbox sign for your room or event
Showing off your favorite content or quotes
Helping with stenciling or calligraphy
Creating fun displays for parties or holidays
A lightbox sign can turn any message into a glowing display. Led light boxes help you see every detail, whether you are drawing, learning, or decorating. You can change the content as often as you like. With a lightbox, your ideas shine bright.
Materials for Wooden LED Light Boxes

When you build led light boxes, you want to pick the right materials. Good materials help your lightbox last longer and shine brighter. Let’s look at what you need for a strong and bright project.
Wood Types
You have a few choices for the frame of your lightbox. Each type of wood gives you a different look and feel.
Plywood: This wood is strong and easy to cut. You can find plywood at most hardware stores. It works well for led light boxes because it holds its shape and gives a smooth finish.
MDF (Medium Density Fiberboard): MDF is flat and smooth. You can paint it any color. It is heavy, so your lightbox will feel sturdy.
Solid Wood: If you want a natural look, try solid wood. Pine, oak, or maple all work. Solid wood costs more, but it gives your led light boxes a classic style.
Tip: Always check the wood for cracks or warping. Good wood means better quality and longer life for your lightbox.
LED Options
The heart of your lightbox is the light. You want bright, even light that covers the whole backlit surface. Here are some popular choices:
Flexible LED Strips: These strips bend and fit inside any frame. You can cut them to size. Flexible LED strips give you strong led lighting and use less power.
LED Panels: These panels spread light evenly. They work well if you want a thin lightbox.
LED Bulbs: Some people use small bulbs, but strips and panels give better light quality.
You should look for LEDs with a high CRI (Color Rendering Index). High CRI means your led light boxes show colors clearly. This helps artists and students see every detail.
Diffusers and Accessories
A diffuser spreads the light so you do not see bright spots or lines. It makes the backlit surface look smooth and soft. You can use:
Acrylic Sheets: White or frosted acrylic works best. It lets light through but hides the LEDs.
Plexiglass: This is like acrylic but a bit stronger.
Tracing Paper: For a quick fix, you can use tracing paper as a diffuser.
Other helpful accessories include:
Switches: Add a switch to turn your led light boxes on and off easily.
Power Adapters: Make sure your LEDs get the right power.
Rubber Feet: These keep your lightbox from sliding on your desk.
Note: The diffuser is key for good light quality. It helps your lightbox give even, soft light for tracing or display.
Tools Needed
You do not need fancy tools to build a lightbox. Here is a simple list:
Tool | Use |
|---|---|
Saw | Cut wood to size |
Screwdriver | Attach frame pieces |
Drill | Make holes for wires |
Sandpaper | Smooth the wood edges |
Ruler/Tape | Measure your pieces |
Glue/Clamps | Hold parts together |
Soldering Iron | Connect LED wires (optional) |
You can build led light boxes with just a few tools. If you want better quality, take your time with each step. Good tools help you get a smooth finish and strong frame.
Remember: The quality of your materials and tools affects how your lightbox looks and works. Choose the best you can find for a project you will love.
Build a DIY LED Lightbox
Building your own lightbox can feel exciting and rewarding. You get to choose the size, shape, and style. You also learn new skills along the way. Let’s walk through each step so you can start crafting your diy led lightbox with confidence.
Planning and Measuring
Before you pick up any tools, take a moment to plan. Good planning saves time and helps you avoid mistakes. Here’s how you can get started:
Decide how big you want your lightbox. Think about what you will use it for. If you want to trace large drawings, make it bigger. For small crafts, a compact size works well.
Measure the glass or acrylic sheet for the top. Your box should fit this piece perfectly. Leave a little extra space for the frame.
Choose a depth for your box. A depth of 12 to 14 inches works best. This gives enough room for the lights and helps spread the light evenly.
Mark where you want ventilation holes. These holes let air flow and keep your lightbox cool.
Plan where you will put the electrical parts. Think about the switch, power adapter, and where the wires will go.
Tip: Draw a simple sketch of your lightbox. Label the parts and write down the measurements. This makes building much easier.
Frame Assembly
Now you can start building the frame. Use your measurements to cut the wood pieces. Plywood, MDF, or solid wood all work well for led light boxes. Sand the edges so they feel smooth.
Lay out the sides and ends of your frame.
Attach the pieces using wood glue and screws. Clamps help hold everything tight while the glue dries.
Double-check that the frame is square. If it wobbles, adjust it before the glue sets.
Drill holes for ventilation and for the wires.
A sturdy frame keeps your lightbox strong and safe. Take your time with this step. If you rush, the box might not fit together well.
Installing LEDs
The next step brings your lightbox to life. You want bright, even light across the whole surface. Flexible LED strips work best for most led light boxes. They bend around corners and fit any shape.
Stick the LED strips inside the frame. Place them close together for even light.
Connect the wires to the power adapter and switch. If you know how, use a soldering iron for strong connections.
Test the lights before you close the box. Make sure every part lights up.
Safety Alert: Always unplug the power before working with wires. If you feel unsure, ask an adult or a friend with experience.
If some LEDs do not turn on, check the connections. Sometimes a loose wire or a backwards strip causes problems. Fix these before moving on.
Adding the Diffuser
A diffuser spreads the light and hides the LED strips. This makes your lightbox glow softly, without bright spots.
Cut your acrylic or plexiglass sheet to fit the top of the frame.
Place tracing paper under the acrylic for extra softness, if you want.
Set the diffuser on top of the frame. Make sure it sits flat and covers all the LEDs.
You can use clips or small screws to hold the diffuser in place. If you want to change the diffuser later, use clips for easy removal.
Finishing Touches
You are almost done crafting your diy led lightbox! Now add the final details to make it look and work great.
Attach rubber feet to the bottom. This keeps your lightbox from sliding.
Install the switch in a spot that is easy to reach.
Paint or stain the wood if you want a special look.
Plug in your lightbox and test it again.
If you hear buzzing or see flickering, check the power adapter and LED strips. Sometimes a loose wire causes these issues. Tighten the connections and try again.
Note: Always keep your led light boxes clean. Dust and fingerprints can block the light and make tracing harder.
Now you have a finished lightbox, ready for tracing, stenciling, or any creative project. You built it yourself, and you can use it for years. Enjoy the bright, even light and the satisfaction of a job well done!
Creative Uses

Home Decor
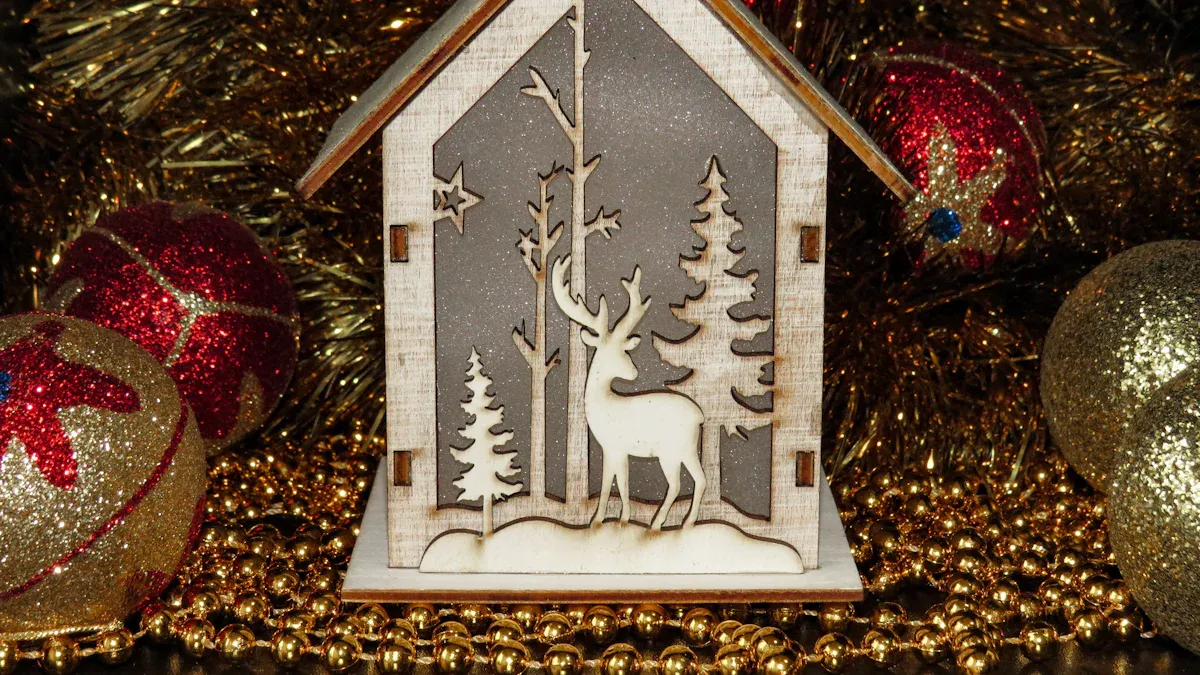
Led light boxes can make your room feel warm. Put a lightbox on a shelf or table. It can show your favorite graphics or words. Many people like making a lightbox sign with family names or quotes. You can also use seasonal graphics. This easy project adds something special to your room. Try showing photos or custom graphics with your led lightbox. You can change what is inside anytime. Your room will always look new. A creative lightbox display gives your space a modern style and makes it stand out.
Tip: Pick soft graphics or calming words for a cozy room.
Art and Tracing
Artists and students use led light boxes for tracing and drawing. Put your drawing or graphics on top of the lightbox. You will see every detail clearly. This helps you practice tracing and get better at art. You can finish your work faster. If you are an illustrator, a lightbox helps you layer graphics and make clean lines. Led lightbox projects let you try new styles and ideas. Many art teachers use a lightbox sign to show steps for students. You can also use led light boxes to show off your finished graphics with bright light.
Classroom and Learning
Teachers use led light boxes to make lessons fun. You can use a lightbox sign to show letters, numbers, or graphics. Students like tracing shapes and practicing handwriting. They also enjoy learning new things with a lightbox. Led lightbox projects help you see graphics clearly. They keep students interested. Try using a lightbox for science or math graphics. This makes learning fun and helps students be creative in class.
Note: Led light boxes are great for group work and hands-on lessons.
Business Displays
Businesses use led light boxes to show off products and ideas. You can make a lightbox sign with your logo or sale graphics. Led lightbox projects help you get people’s attention. They let you share important graphics or words. Many stores use a lightbox for bright displays in their rooms. You can change the graphics for each season or event. This keeps your business looking new and professional.
Project Type | Example Content | Interior Use |
|---|---|---|
Retail displays | Sale graphics | Storefront |
Creative display | Custom graphics | Office interior |
Creating a lightbox sign | Menu content | Restaurant |
Led light boxes give you many ways to use graphics and words in your projects. You can be creative with every new idea.
Care for LED Light Boxes
Taking care of your led light boxes helps them shine bright and last longer. You do not need special skills to keep your lightbox in top shape. Just follow a few easy steps, and you will enjoy clear, even light every time you use it.
Cleaning
Dust and fingerprints can block the light and make tracing harder. You want your led light boxes to look clean and work well. Here’s how you can clean your lightbox:
Unplug your lightbox before you start.
Use a soft, dry cloth to wipe the surface. For tough spots, dampen the cloth with a little water.
Avoid using harsh cleaners or sprays. These can scratch the diffuser or wood.
Clean the edges and corners where dust collects.
Tip: Clean your led light boxes once a week if you use them often. This keeps the light bright and the surface smooth.
Replacing LEDs
LEDs have a long lifespan, but sometimes you need to replace them. If you notice dim spots or flickering, it might be time for new lights.
Unplug your lightbox and remove the diffuser.
Gently peel off the old LED strips or unscrew the LED panel.
Place the new LEDs in the same spot. Make sure the wires connect tightly.
Test the light before closing the box.
You can find replacement LEDs at most hardware stores. Always choose the right size and brightness for your led light boxes.
Troubleshooting
Sometimes your lightbox does not work as expected. Here’s a quick table to help you fix common problems:
Problem | What to Check |
|---|---|
No light | Power adapter, switch, wires |
Flickering light | Loose wires, bad LEDs |
Uneven light | LED placement, dirty diffuser |
If you still have trouble, ask a friend or check the instructions. Keeping your led light boxes in good shape means you get bright, even light for every project.
You can do so much with a lightbox sign. Use your lightbox sign for tracing, art, or even as a cool lightbox sign in your room. Try making a lightbox sign for your next party or use a lightbox sign to show off your favorite quote. You can build a lightbox sign with simple tools. If you want more ideas, look up new ways to decorate your lightbox sign. Anyone can make a lightbox sign and have fun!
FAQ
How long do LED strips last in a lightbox?
LED strips usually last for years. You can expect them to shine for about 30,000 to 50,000 hours. If you use your lightbox every day, the lights will still work for a long time.
Can I use any type of wood for my lightbox frame?
You can use plywood, MDF, or solid wood. Each type gives your lightbox a different look and feel. Make sure the wood is flat and strong. Avoid wood with cracks or warping.
Is it safe to leave my LED lightbox on for hours?
Yes, LED lights stay cool and use little power. You can leave your lightbox on for hours without worry. Always check that the wires and power adapter work well.
What should I do if my lightbox flickers?
Tip: First, check the power adapter and wires. Loose connections often cause flickering. If the problem continues, try replacing the LED strips. Clean the diffuser to make sure nothing blocks the light.
See Also
Exploring Acrylic LED Light Boxes: Varieties And Uses
Personalized Acrylic Light Boxes: Creation, Components, And Setup
Understanding Acrylic Light Boxes: Uses, Advantages, And Choosing
Acrylic Photo Light Boxes: Varieties, Perks, And Innovative Uses

