Why Choose DIY Acrylic Light Box Kits

Have you ever wanted to create something that’s both functional and stylish? DIY acrylic light box kits make it easy for you to design your own LED light box. These kits give you the freedom to express your creativity while staying within budget. You don’t need to be a crafting expert either—simple instructions guide you every step of the way. Whether you’re decorating your space or working on a project, these kits let you bring your ideas to life with ease.
Key Takeaways
DIY acrylic light box kits help you save money. Make your own cool light boxes instead of buying pricey ones.
You can customize them. Design light boxes that match your style with painted or carved acrylic panels.
They are simple to put together. Follow easy steps to build your light box, great for beginners and experts.
These kits can be used in many ways. Use your light box for decorating, business signs, or as a special gift.
Pick good materials. Get kits with strong acrylic for long-lasting and nice-looking results.
Benefits of DIY Acrylic Light Box Kits
Cost-effectiveness
DIY acrylic light box kits are a cheap way to make cool lights. Instead of buying expensive light boxes, you can make your own for less money. These kits come with everything you need, so no extra shopping is required. They can also be reused! If you want a new look, just change the acrylic panels or lighting. This makes them a great choice for saving money while still looking professional.
Customization and Creativity
These kits let you design a light box that suits your style. Want something modern and simple? Or maybe bright and fun? You decide! The acrylic panels can be painted, engraved, or decorated however you like. You can also try different lighting effects to make it special. These kits help you turn your creative ideas into real projects.
Easy Assembly and Accessibility
You don’t need to be a crafting expert to use these kits. They are easy to put together with clear, step-by-step instructions. Some kits even have video guides to help you. Building a DIY acrylic light box is often easier than making a Lego set! Whether you’re new to crafting or experienced, you’ll enjoy the process without stress.
Tip: Take your time when building to make it look neat. This will give your light box a clean and professional finish.
Practical Applications of DIY Light Boxes
Home Decor
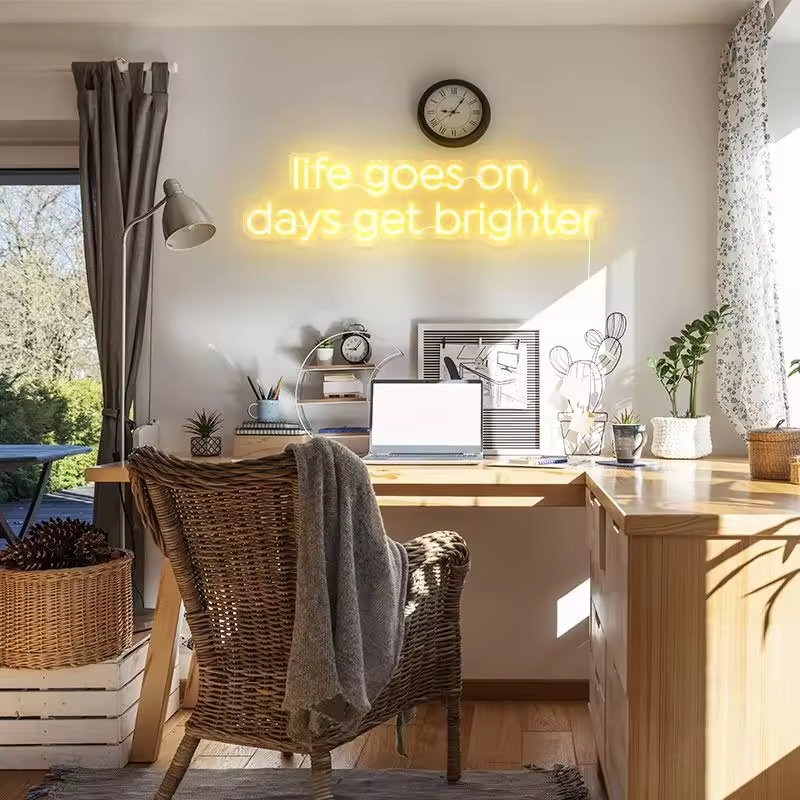
DIY acrylic light box kits are perfect for adding a personal touch to your home. You can use them to brighten up a dull corner or create a cozy atmosphere in your living room. Imagine a glowing box with your favorite quote or a design that matches your room’s theme—it’s like having art and lighting combined! You can also make an LED light box for seasonal decorations. For example, a snowflake design during winter or a floral pattern in spring. These light boxes are versatile, so you can switch out the acrylic panels whenever you want a fresh look.
Tip: Place your light box near a window or mirror to amplify its glow and make your space feel larger.
Business and Branding
A DIY acrylic light box can help your business stand out. You can customize it with your logo, slogan, or even a special promotion. It’s a great way to grab attention in a storefront or at an event. The lighting adds a professional touch, making your brand look polished and modern. If you’re running a small business, this is an affordable way to create signage that reflects your style. Plus, you can update the design as your branding evolves.
Idea: Use different lighting effects to highlight specific parts of your design, like your logo or a key message.
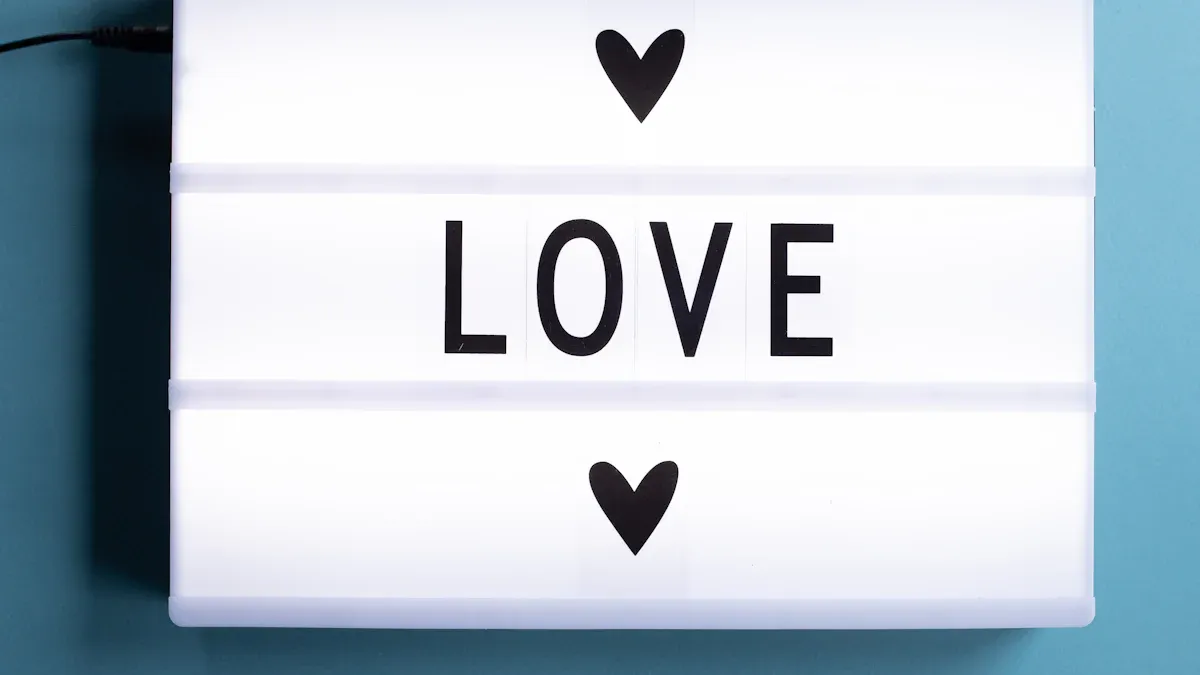
Gifting Ideas
Looking for a unique gift? A DIY light box is a thoughtful option. You can personalize it with the recipient’s name, a meaningful quote, or a design that matches their personality. It’s not just a gift—it’s something you made with care. Whether it’s for a birthday, anniversary, or holiday, a custom light box shows you put effort into creating something special. You can even involve kids in the process to make it a fun family project.
Fun Fact: Handmade gifts like these are often cherished more because they feel personal and one-of-a-kind.
Tips for Choosing the Right DIY Acrylic Light Box Kit
Material Quality
When picking a DIY acrylic light box kit, the material quality should be your top priority. High-quality acrylic panels are durable and provide a clean, polished look. They also allow the light to shine through evenly, creating a professional finish. Cheaper materials might warp or scratch easily, which can ruin your design. Look for kits that mention "premium" or "high-grade" acrylic in their description. This ensures your light box will last longer and look better.
Tip: Check reviews or product descriptions to see if the acrylic is scratch-resistant or UV-stable. These features can make a big difference in the long run.
Tools and Instructions Included
A good DIY kit should come with everything you need to assemble your light box. This includes tools like screws, connectors, and LED strips. Some kits even include extras like stencils or markers for decorating the panels. Clear instructions are just as important. Look for kits with step-by-step guides or video tutorials. These make the process smoother, especially if you’re new to DIY projects.
Note: If a kit doesn’t include tools, double-check what you’ll need to buy separately. This can save you from unexpected trips to the store.
Size and Design Options
DIY acrylic light box kits come in various sizes and designs, so you can find one that fits your needs. Whether you want a small A4 box for a desk or a larger A2 box for a wall display, there’s something for everyone. The brightness levels also vary depending on the size. For example:
Size Option | |
|---|---|
A4 | 7,000 |
A3 | 6,000 |
A2 | 4,500 |
Smaller boxes tend to be brighter, making them perfect for detailed designs. Larger boxes are great for bold, eye-catching displays. Choose a size that matches your project and the space where you’ll use it.
Idea: If you’re unsure, start with a medium-sized kit like A3. It offers a balance between brightness and display area.
How to Make an LED Light Box with a DIY Kit
Step-by-Step Assembly Process
Making your own LED light box is easier than you might think. Follow these steps to get started:
Unpack Your Kit: Lay out all the materials from your DIY kit. Check that you have everything, including the acrylic panels, LED strips, connectors, and screws.
Prepare the Acrylic Panels: Peel off any protective film from the panels. If you want to decorate them, now’s the time to paint or engrave your design.
Assemble the Frame: Use the connectors and screws to put the frame together. Make sure it’s sturdy and aligned properly.
Install the LED Strips: Attach the LED strips inside the frame. Most kits have adhesive backing on the strips, so they’re easy to stick in place.
Connect the Power Source: Plug the LED strips into the power adapter. Test the lighting to ensure everything works before sealing the box.
Secure the Panels: Slide the acrylic panels into the frame. Double-check that they’re snug and won’t move around.
That’s it! You’ve just learned how to make an LED light box.
Pro Tip: Keep a small screwdriver handy. It’ll make the assembly process smoother.
Tips for Personalizing Your Light Box
Your DIY light box is a blank canvas. Here are some ideas to make it uniquely yours:
Add Color: Use acrylic paint or markers to create vibrant designs on the panels.
Experiment with Lighting: Try different LED colors or effects, like flashing or fading, to match your mood.
Layer Your Design: Use multiple panels with different designs to create a 3D effect.
Include Text: Add your favorite quote, a name, or a special date for a personal touch.
Idea: Use stencils for clean, professional-looking text or patterns.
Common Mistakes to Avoid
Even simple projects can have hiccups. Here’s what to watch out for:
Skipping the Instructions: Always read the manual. It saves time and prevents errors.
Rushing the Assembly: Take your time to align the panels and secure the frame. A rushed job can lead to a wobbly light box.
Overloading the LED Strips: Don’t use too many strips in one box. It can cause overheating or uneven lighting.
Ignoring Safety: Make sure all electrical connections are secure to avoid short circuits.
Reminder: Test the lighting before sealing the box. Fixing issues later can be tricky.
DIY acrylic light box kits are a fantastic way to unleash your creativity while staying practical. Whether you’re sprucing up your home, promoting your business, or crafting a heartfelt gift, these kits make it easy to create something truly unique. You don’t need special skills—just follow the simple steps and let your imagination take over.
Ready to start? Grab a kit today and see how fun and rewarding it is to build your own LED light box. You’ll love the results!
FAQ
What comes in a DIY acrylic light box kit?
Most kits have acrylic panels, LED strips, connectors, screws, and a power adapter. Some also include tools, stencils, or markers for decorating. Always read the product details to see what’s included.
Can I use a DIY light box for photos?
Yes, you can! DIY light boxes are great for small product photos. They work like light tents, giving even lighting for clear pictures. Make sure the size fits your item.
How long does it take to build a DIY light box?
It usually takes 30 minutes to an hour to assemble. The time depends on the kit and if you add custom designs. Following the steps carefully will help you finish faster.
Are DIY light boxes safe to use?
Yes, they are safe! These kits are made with safety in mind. Check that all wires are secure and don’t overload the LED strips. If unsure, follow the manual for help.
Can I reuse my DIY light box for new projects?
Yes, you can reuse it easily! Change the acrylic panels or lighting to fit your next project. This makes it a handy tool for many creative ideas.
See Also
Exploring Acrylic Light Boxes: Uses, Advantages, and Choosing Tips
Creating Stunning Displays with Acrylic Light Boxes
Seven Best Acrylic Light Box Panels for Various Needs
Evaluating Acrylic Materials for Light Boxes: Durability and Aesthetics
