LED Light Box Studio Essentials: Must-Have Accessories and Add-ons

When you set up your led light box studio, you want the right accessories for the best results. Choosing the right size, lighting quality, and backdrops helps you capture sharp and vibrant photos. The right photography accessories can make a big difference:
Softboxes create even light and reduce harsh shadows.
Diffusers soften and spread light, so you avoid glare.
Color gels add color and mood to your shots.
Think about your essential photography equipment, your budget, and how easy it is to move your gear. With the right photography accessories, you can build a kit that works for any style or product.
Key Takeaways
Softboxes and diffusers help make the light even. They also help stop strong shadows in your product photos.
Interchangeable backdrops let you change the look fast. This saves time and helps you be more creative.
Buy adjustable tripods and clamp mounts for steady cameras. These tools let you change camera angles easily.
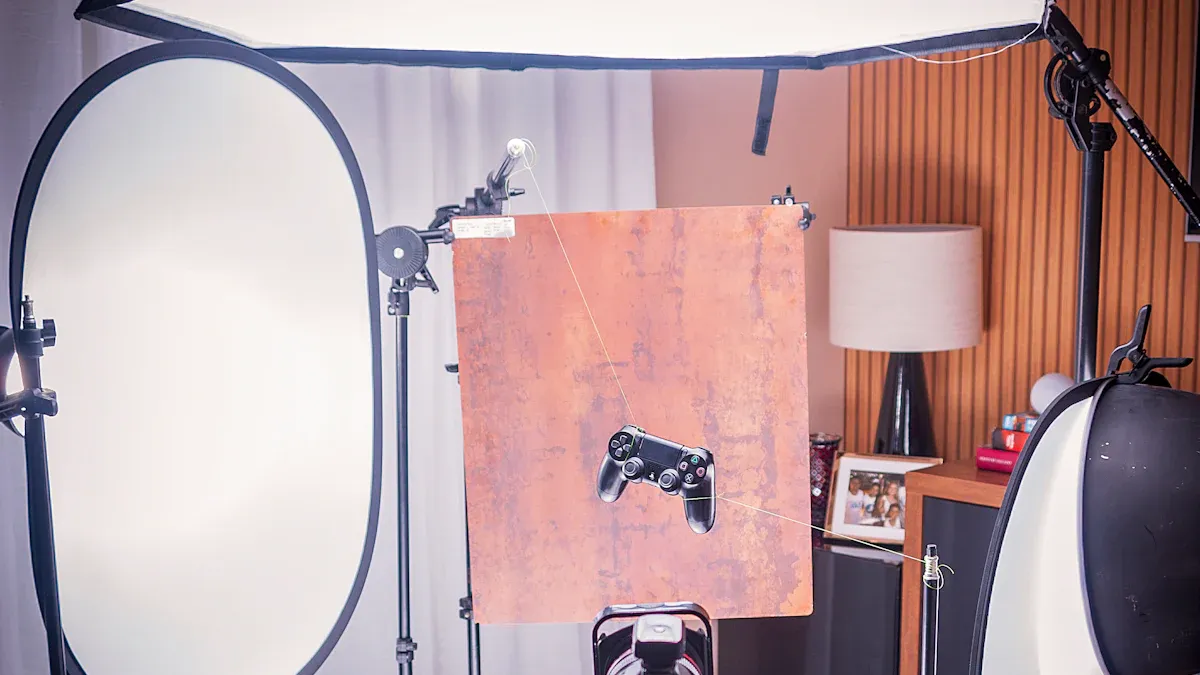
LED Light Box Lighting Modifiers
Lighting modifiers help you get the most out of your light box studio. You want your photos to look sharp and professional, and the right tools make that possible. Let’s break down the most important modifiers you can use.
Diffusers & Softboxes
Diffusers and softboxes are must-haves for any photo studio. They spread out the light, so you don’t get harsh shadows or bright spots on your products. When you use a softbox, it wraps the light around your subject. This makes the transition from light to shadow smooth and soft. Many softboxes have a hot spot plate and an internal baffle. These parts help spread the light even more before it hits the main diffuser. You get even, gentle lighting every time.
Tip: If you want your product photography to look clean and professional, always use a diffuser or softbox. They make your images look high-quality and help you avoid glare.
Reflectors & Bounce Cards
Reflectors and bounce cards give you more control over your lighting. You can use them to change the direction of the light and fill in shadows. This means you don’t always need a second light source. Reflectors soften harsh shadows and help balance the exposure in your photos. Bounce cards work well for small products. They create soft, even light and make your images look better.
Reflectors let you control where the light goes.
They help you get rid of dark shadows.
You can use bounce cards to make your lighting softer and more even.
Color Gels & Filters
Color gels and filters let you play with the mood and color of your photos. Gels are thin sheets that you put in front of your lights. You can use them to change the color temperature or add fun colors to your images. For example, if you shoot indoors with tungsten lights, you can use a gel to match the daylight coming through a window. Gels also help you set the mood. Want a warm, cozy look? Try an orange gel. Need a cool, modern feel? Use a blue one.
Color gels balance different types of lighting.
They add vibrant colors and make your photos stand out.
You can use them to create a special atmosphere for your product shots.
Common Lighting Modifiers Table
Here’s a quick look at the most common lighting modifiers you’ll find in a light box studio:
Modifier Type | Description |
|---|---|
Softboxes | Cloth boxes that disperse light, providing even, soft lighting in various shapes and sizes. |
Umbrellas | Reflectors that bounce light to create a broad, soft glow, available in different colors and sizes. |
Barn doors | Metal flaps that adjust light dispersion and direction for focused illumination. |
You can find high-quality lighting kits from brands like JUST Normlicht and Pantone. These brands offer reliable gear that helps you get the best results in your studio.
When you use lighting modifiers, you make your light box more flexible. You can shoot different products, try new styles, and always get great lighting. Whether you use continuous LED lights, strobes, or adjustable kits, modifiers help you control every detail. This means your photos will always look their best, no matter what you’re shooting.
Photo Light Box Backgrounds
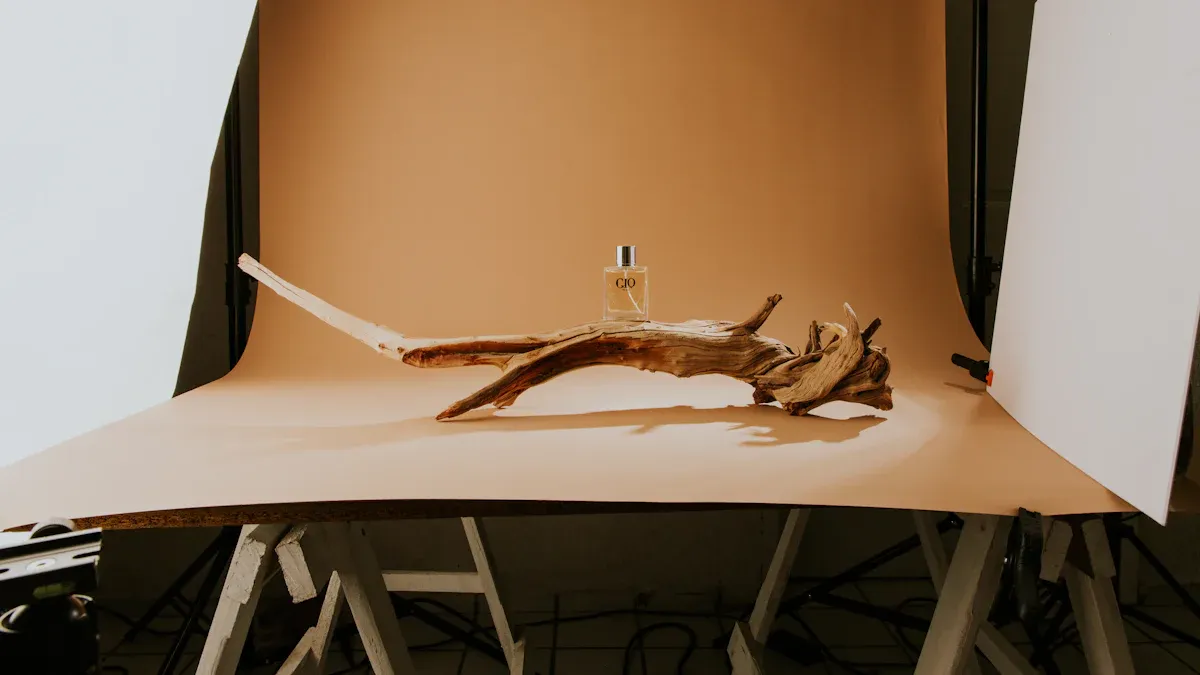
When you want your studio to stand out, you need the right backgrounds. Using different backdrops in your light box gives you more options for every photo. You can match your style, brand, or product type. This makes your photography look fresh and professional every time.
Interchangeable Backdrops
You can swap out backdrops in your light box to fit any theme or product. Interchangeable backdrops let you change the mood of your shots fast. You do not need a new setup for every product. Just pick a new background and keep shooting. This saves time and helps you create more content for your mini photo studio. You can use dark, simple backgrounds for clothing or bright ones for tech gadgets. More product images also mean higher conversion rates. If you show your product in different settings, you help shoppers imagine using it.
Tip: Try using blurred backgrounds or center your product in the photo. This makes your product pop and keeps the focus on what matters.
Textured & Colored Surfaces
You can use colored or textured surfaces to make your photos more interesting. Vinyl backdrops work well because they are easy to clean and last a long time. If you shoot food or messy items, vinyl is a great choice. Wood or fabric backgrounds add depth and style to your photography. Try colors that match or contrast with your product. This makes your studio shots stand out and gives your photos a unique look.
Sweep Backgrounds
Sweep backgrounds help you get that seamless, floating look in your product photography. The curved design removes harsh lines and shadows. Your photos look smooth and professional. The light flows across the background, so you do not see any sharp edges. This trick comes from optical physics and helps you get high-quality results in your studio.
Note: Using sweep backgrounds in your photo light box can make your products look like they are floating. This is a favorite trick for many studio photographers.
Light Box Stands & Mounts
You want your studio setup to be stable and flexible. The right stands and mounts help you get sharp photo results every time. Let’s look at three options that make your light box studio work better for product photography.
Adjustable Tripods
Adjustable tripods give you control over your camera height and angle. You can move your camera up or down to fit the size of your light box. Tripods keep your camera steady, so your photo quality stays high. If you shoot jewelry, shoes, or gadgets, you can change the tripod position for different shots. Many tripods fold up, so you can carry them to any studio or workspace.
Tip: Use a tripod with a quick-release plate. You can switch cameras fast and keep your photo session moving.
Clamp Mounts
Clamp mounts make your studio setup flexible and strong. You can attach them to tables, shelves, or even the side of your light box. The Flex Camera Clamp Mount has a sturdy base and a flexible gooseneck arm. You can move your camera in any direction with 360-degree flexibility. The heavy-duty spring clamp grips surfaces tightly, so your camera stays stable. You can use clamp mounts with many devices, making them perfect for different photography needs.
Secure grip for steady photo shots
Real-time adjustments for perfect lighting angles
Works with many camera types in your studio
Tabletop Stands
Tabletop stands work great for compact led light box studios. They come with integrated lights and a diffusion panel for balanced lighting. You can fold the studio box into a carrying case, so it’s easy to move. Tabletop stands fit small workspaces and offer backdrop choices like blue, white, gray, and black. You can set up your studio fast and start shooting right away. Reflective side panels keep the light inside, and the shoot-through hatch lets you try new photo angles.
Feature | Description |
|---|---|
Integrated Lighting | Dimmable daylight LED lights & diffusion panel |
Portability | Folds into a carrying and storage case |
Compact Workspace | Sizes: 16x16", 20x20", 24x24", 28x28" |
Backdrop Options | Blue, white, gray, black |
Easy Setup | Minimal assembly required |
Reflective Side Panels | Keeps light balanced and diffused |
Shoot-Through Hatch | Allows for creative photo angles |
With the right stands and mounts, you can boost your studio’s flexibility and photo quality. You get steady shots, easy adjustments, and better lighting for every product.
Power Solutions for Photography Studio Equipment
Keeping your studio powered up is key for great photography. You want your lights to stay bright and steady, so your photos always look sharp. Let’s look at the best ways to power your photography studio equipment and keep your light box running strong.
AC Adapters & Battery Packs
You can use AC adapters to plug your lights right into the wall. This gives you steady power for long photo sessions in your studio. Battery packs work well when you need to move your mini photo studio or shoot outside. Some led light box kits come with both options. If you travel or shoot in places without outlets, battery packs keep your lights on. For most indoor studios, AC adapters give you the most reliable lighting.
Tip: Always check your photography studio equipment guide to see which power source works best for your lights.
Extension Cords & Power Strips
Extension cords and power strips help you set up your studio just the way you want. You can move your lights, cameras, and backdrops around without worrying about reaching an outlet. Power strips let you plug in all your photography studio equipment at once. This keeps your workspace neat and safe. Make sure you use cords that handle the power your lights need.
Power Solution | Best For |
|---|---|
Extension Cord | Flexible studio layouts |
Power Strip | Multiple lights and devices |
Remote Controls & Timers
Remote controls and timers make your photo sessions smoother. You can turn your lights on or off without touching your camera. This helps you avoid camera shake, which keeps your photos clear. Timers let you set up shots for product photography, especially when you need perfect lighting for close-ups or long exposures.
Prevent camera shake for sharp photo results
Get precise lighting for every shot
Make your studio workflow faster and easier
Note: Reliable power means your lighting stays even, so every photo looks its best. Good power solutions help you get high-quality shots every time you use your photo light box.
Maintenance Tools for Light Box Studios
Cleaning Kits
You want your LED light box to look spotless for every shoot. Dust and fingerprints can ruin your photos. Cleaning your gear is easy if you use the right tools. Grab a microfiber cloth and gently wipe the surface. This keeps the panels clear and scratch-free. For vents and heat sinks, use compressed air. It blows away dust without touching delicate parts. Stick with water or a well-diluted solvent if you need more cleaning power. Strong cleaners can damage the lens or graphics, so avoid them.
Gently wipe with a microfiber cloth
Use compressed air for vents and heat sinks
Clean with water only, or a well-diluted solvent
Avoid strong cleaners
Tip: Clean your light box after every session. You get better photos and your gear lasts longer.
Storage Solutions
You need a safe place for your studio gear. Good storage keeps everything organized and ready for your next shoot. Try stackable bins or padded cases for your accessories. Label each box so you can find things fast. If you travel, look for a hard-shell case with foam inserts. This protects your light box and parts from bumps and drops.
Storage Option | Best For |
|---|---|
Stackable bins | Studio organization |
Padded cases | On-the-go protection |
Hard-shell case | Travel and transport |
Replacement Bulbs & Parts
LEDs last a long time, but you should keep spare bulbs and parts on hand. If a light goes out during a shoot, you can swap it fast. Check your light box manual for the right bulb type. Keep extra fuses, power cords, and diffuser panels in your kit. This way, you never miss a shot because of a broken part.
Note: A well-maintained studio means fewer surprises and smoother photo sessions.
Choosing Accessories for Your LED Light Box
Match to Product Types
When you pick accessories for your LED light box, think about what you plan to photograph. Different products need different setups. For example, jewelry looks best with soft, even light, while shoes might need a bigger background. You want accessories that fit your products and make your photos pop. Check out this table to help you match the right gear:
Criteria | Explanation |
|---|---|
Customization | Choose accessories you can adjust for your product’s size and shape. |
Availability of Accessories | Make sure you can find the parts you need for your setup. |
Multifunctional Designs | Pick tools that work for more than one job, like shelves or extra panels. |
If you’re starting a photography studio, a good equipment list helps you stay organized. Include lighting, backgrounds, stands, and extra tools for the best results.
Budget-Friendly Picks
You don’t have to spend a lot to get great photos. Many affordable accessories work well for a photography studio business. Here’s a quick look at some popular options:
Product Name | Pros | Cons |
|---|---|---|
Bright, easy to use, comes with a case | No brightness control, fragile | |
Soonwell FB-21 | Portable, strong light | Small, not very soft |
Falconeyes RX18-TD | Soft light, easy setup, portable | Bulky, controller could be better |
Andycine AL-360RGB | Fun colors, standard LED features | No batteries, no diffuser |
Aputure M9 | Handy, strong build, powerful | Small, built-in battery only |
Look for deals and read reviews before you buy. Sometimes, a simple accessory can make a big difference in your photos.
Portability Tips
If you travel or shoot on location, you need gear that’s easy to carry. Lightweight light modifiers help you move fast and set up anywhere. Portable LED lights with battery power are perfect for outdoor shoots or live events. You can pack up your studio and take it with you.
Choose light modifiers that don’t add much weight.
Pick LED lights that run on batteries for more freedom.
Use cases or bags to keep your gear safe and organized.
Tip: Always measure your light box and check your gear before you leave for a shoot. This way, you avoid surprises and get the best results every time.
A complete photography studio equipment list keeps you ready for any project. With the right accessories, you can handle any product, budget, or location.
You want your product photos to stand out. Quality accessories help you capture sharp, eye-catching images.
Great photos boost your brand and build trust.
User reviews and expert tips guide you to the best gear.
Avoid common mistakes like harsh light or the wrong background. Build your kit for your style!
FAQ
What size LED light box should I get?
You should pick a size that fits your largest product. Measure your items first. Bigger boxes give you more space to work with.
Can I use my phone for product photos?
Yes! Your phone works great with a light box. Just use a tripod for steady shots. Good lighting helps your phone camera shine.
How do I keep my backgrounds wrinkle-free?
Roll your backdrops for storage. Avoid folding them. If you see wrinkles, use a steamer or iron on low heat.
See Also
Essential Tips for Achieving Professional Acrylic Light Box Results
Exploring Types and Benefits of Acrylic Photo Light Boxes
Choosing the Right Acrylic Light Box: Benefits and Uses
