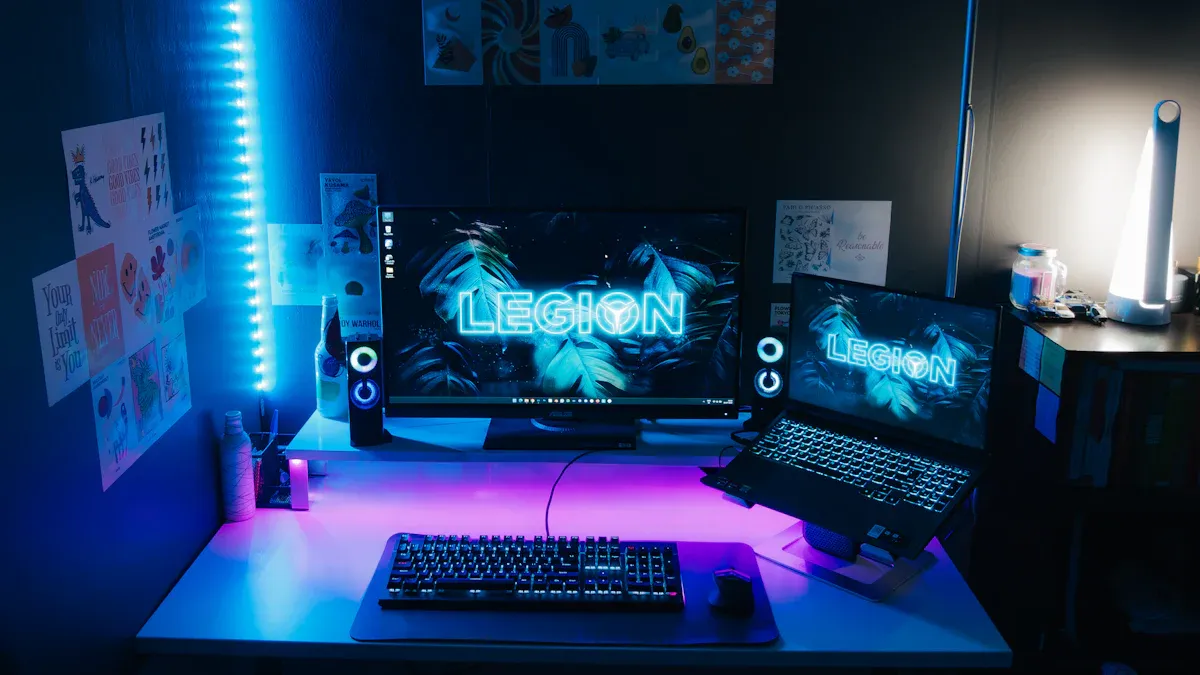
Installing Light in the Box LED Lights

You can install Light in the Box led lights in just a few steps with some basic tools. Most homeowners finish the installation quickly—simple light swaps often take under an hour, while bigger setups might need up to three.
Hide wires neatly and pick smart spots for each light.
Avoid mistakes like reversed polarity or poor adhesion.
Key Takeaways
Get all the tools and materials you need first. This step makes the job easier and faster.
Safety comes first, so check wires and connections. Turn off the power before you touch anything electric. This keeps you safe from harm.
Think about where you want the lights to go. Measure your space and pick the right brightness. This will make your room look better.
Tools and Materials for LED Lights

Essential Tools
Make sure you have all your tools before you start. This will help you install your Light in the Box LED lights without problems. Here is a list to help you get ready:
Use a wire stripper to cut and remove wire covers.
A voltage tester or multimeter checks if wires are safe.
You need a screwdriver to tighten or loosen screws.
Use a drill to make holes in walls or ceilings.
Electrical tape keeps wire connections safe and covered.
Wire connectors join wires together safely.
A ladder helps you reach high places.
Tip: Check your tools before you begin. If you forget one, it can slow you down!
Materials Checklist
Get all your materials ready before you start. This makes the installation go smoothly. Here is what you need:
Power supply like an adapter or transformer
Controller if you want color or remote control
Double-sided tape or mounting clips to hold lights
Mounting channel for a clean look
Scissors, wire strippers, screwdriver, and tape measure for setup
Some LED strips have sticky backs. This makes them easy to put up. Just peel off the cover and stick the lights where you want.
Optional Accessories
You can add extra items to make your lights even better. Think about using these:
Smart controllers for app or voice use
Extension cables for longer setups
Corner connectors for sharp turns
Diffuser covers for softer light
Picking the right extras lets you change your lighting. You can make it look just how you want.
Preparing to Install LED Light Box
Area Preparation
You want your led light box to shine bright and last long. Start by getting your space ready. Here’s a simple checklist to follow:
Read the manual for your led light box. This helps you avoid mistakes.
Clean the area where you plan to work. Move anything that might get in your way.
Gather all your tools and materials before you start.
Pick the best spot for your led light box. Make sure it’s close to a power outlet and easy to reach.
Turn off the power supply at the breaker. Safety comes first!
Mark the spot for your junction box. Choose a place that makes wiring easy and keeps the box accessible.
Decide if you want a flush mount or surface mount. Get your screws and anchors ready.
Attach the junction box to the wall or ceiling. Make sure it’s level and secure.
Route the wires neatly. Use wire nuts for safe connections and seal the box to keep out moisture.
Tip: Always wear gloves and safety glasses when working with wires. This keeps you safe from shocks and sharp edges.
Checking LED Fixtures
Before you install, check if your fixtures work with your new lights. Not every fixture fits every led light box. Here’s what you should look for:
Inspect lamp holders and power supply. Make sure they match your new lights.
See if your old fixture has a ballast. You might need to remove or bypass it.
Check for good airflow around the fixture. LEDs need to stay cool.
Make sure the size of your new lights fits the fixture.
If you want dimming, check if your switch works with LED bulbs.
Here’s a quick table to help you double-check:
Factor | What to Check |
|---|---|
Fixture Compatibility | Will your fixture hold the new LED lights? |
Dimming Capabilities | Does your dimmer switch work with LEDs? |
Physical Dimensions | Will the new lights fit in your old fixture? |
If everything checks out, you’re ready to move on to the next step!
Install LED Light Bars Step-by-Step
Unboxing and Inspection
You just got your new led lights. Start by opening the box and checking each part. Look for any damage or missing pieces. You should find the bars, the light panel, mounting hardware, and the power supply. Make sure the led strips and connectors look good. If you see any problems, contact the seller before you begin your project.
Tip: Keep the packaging until you finish the installation. You might need it if you have to return something.
Layout Planning
Planning your layout helps you get the best light and style. First, measure the space where you want to install led light bars. Write down the length and width. Decide how bright you want each area. For ambient light, use about 20 lumens per square foot. Task areas need 50 lumens, and accent spots work well with 30 lumens.
Think about layering. Use different bars to add depth and make your room look great. Place the bars so they avoid shadows and highlight important spots. Pick bars that last and save energy. Led bars use less power and help the environment.
Here’s a quick plan to follow:
Measure your space.
Choose the right brightness for each area.
Pick the best bars for your needs.
Note: You can use lighting design software or ask a professional for help if your project is big.
Mounting LED Light Box
Now you’re ready to mount the light panel and bars. Find the ceiling joists with a stud finder. Attach the junction box to a solid spot. Use mounting bars to make positioning easier. If you need extra support, add wood blocking between joists.
Make sure the box is level and tight. Follow safety rules. Ground the box and check all connections. This keeps your installation safe and up to code.
Secure the junction box to a sturdy surface.
Use mounting bars for easy placement.
Add wood blocking if needed.
Tip: Always turn off the power before you start working with wires.
Wiring and Power Connection
Wiring is a key step in your install led light bars project. Pick the right type of light box for your setup. Standard boxes work for most rooms. If you need weatherproof or ceiling fan boxes, use those.
Follow these steps:
Choose a power supply that matches your led lights. Use the 80/30 Rule for safety.
Connect the positive and negative wires from the bars to the power supply terminals.
Attach the bars and light panel to the surface using adhesive tape or brackets.
Use high-quality connectors. Make sure wire nuts fit tight. You can use terminal blocks for a stronger connection. Check for corrosion or wear, especially in damp places. This helps prevent short circuits and fires.
Retrofit downlights need more work than regular led fixtures. Smart downlights need extra steps for smart home systems. If your ceiling is high or hard to reach, plan for more time.
Securing and Testing LED Lights
After you finish wiring, secure the bars and light panel. Double-check that everything is tight and safe. Now it’s time to test your led lights.
Here’s a table to help you check your installation:
Test Type | Purpose |
|---|---|
Electrical Performance Inspection | Make sure the bars use the right current, voltage, and power. |
Insulation Performance Testing | Check resistance to stop leaks and shocks. |
Withstand Voltage Testing | See if the bars can handle extra voltage safely. |
Optical Performance Inspection | Look at the light output and quality from your bars and light panel. |
Safety Testing | Confirm grounding and protection to prevent shocks and fires. |
If your bars and light panel pass these tests, you’re ready to enjoy your new setup. Your project is complete, and your space will look brighter and more stylish.
Tip: Test each bar and light panel before you finish. This saves time if you need to fix something.
LED Safety Tips
Electrical Precautions
You want your project to be safe and easy. Always follow the instructions from the manufacturer. Use the right connectors, not just twisted wires. This helps your lights work well and keeps you safe. Make sure the voltage is correct for your led lights. Using the wrong voltage can cause overheating or sparks.
Check your tools before you start. Broken tools can shock you. Keep your workspace dry. Water and electricity are dangerous together. If you see loose screws or wires, fix them right away. Only cut led strips at the marked spots. Always turn off the power before cutting.
Here’s a simple checklist for electrical safety:
Use the right connectors.
Match the voltage to your led lights.
Check your tools first.
Keep your area dry.
Fix any loose screws or wires.
Cut strips only at marked spots with the power off.
Tip: If you are not sure about wiring, ask a licensed electrician for help.
Handling LED Components
When you touch led parts, check for safety labels. Look for marks like UL, Energy Star, CE, RoHS, FCC, or DLC on the box. These show your led lights are safe and good quality. UL listed means the product is tested for homes. Many places need these certifications.
Be gentle with each light. Do not bend or twist the strips. This can break the small circuits inside. Make sure your hands are clean and dry before touching led parts. If you see damage, do not use that part.
Here is a table to help you find safety marks:
Certification | What It Means |
|---|---|
UL | Tested for electrical safety |
Energy Star | High efficiency and quality |
CE | Meets EU safety standards |
RoHS | Free from hazardous materials |
FCC | Limits electromagnetic interference |
DLC | High-efficiency commercial lighting |
Note: Certified led lights last longer and help keep your home safe.
Troubleshooting LED Issues
Power Problems
You might run into power problems during your led project. If your lights do not turn on, start by checking the power supply. Make sure the outlet works and the breaker is not tripped. Sometimes, the driver inside the led fixture fails. You can test the driver with a multimeter. If you see low voltage, swap out the driver for a new one. Always check the wires for loose connections. Tighten any screws and make sure the wires sit firmly in place. If you use a dimmer, make sure it matches your led lights. Old dimmers can cause issues with newer bulbs.
Flickering or Dim Lights
Flickering or dim lights can ruin your installation. You want your space to look bright and steady. Here’s a table to help you spot common causes and quick fixes:
Causes of Flickering | Solutions |
|---|---|
Issues with the driver causing voltage fluctuations | Use higher quality constant current LED drivers to stabilize power supply |
Loose wiring or connections | Ensure all connections are secure and properly installed |
Incompatible dimmer switches | Replace with dimmers compatible with LED lights |
Lower quality LED fixtures | Invest in higher quality LED bulbs to reduce flickering risks |
Repeated power surges affecting drivers | Use better drivers to normalize output and prevent flickering |
Flickering can lead to health problems. You may notice headaches or dizziness. Sometimes, flickering is hard to see but still causes discomfort. If you spot flickering, fix it right away to keep your project safe.
Connection Errors
Connection errors can stop your light from working. You need to check each wire and connector. Follow these steps to fix connection problems:
Check for loose wires and tighten them.
Secure the screw lamp in the fixture.
Make sure all connections are snug and have not come loose.
Disconnect power and secure any extra wiring in the switch box.
New led bulbs may not work with old switches. If you use vintage dimmers, they might not handle low wattage. You can swap out old switches for ones made for led lights. Always check the driver and power supply for problems. If you see voltage changes, fix them before finishing your project.
Best Results for LED Lights
Placement Tips
You want your room to look bright and friendly. Where you put each light matters a lot. Try these ideas to get the best look:
Put box lights right on the ceiling or inside it. This makes your room look neat and saves space.
Think about how high and which way each light points. Lights that shine down from above cover more area.
Plan where your lights will go before you start. Spread them out so every part of the room gets enough light.
Tip: Turn on one light at a time to test your setup. Move each light until you like how it looks.
Maintenance Advice
Taking care of your led lights is simple if you do it often. Here is a table to help you remember what to do and when:
Maintenance Frequency | Tasks |
|---|---|
Daily | Look at the lights, clean the surface |
Weekly | Check airflow, check wires |
Monthly | Look inside, clean deeply |
Quarterly | Check everything, test if it works |
Annual | Change parts, adjust settings |
You can stop most problems by doing a few easy things:
Put up your lights the right way. This keeps them safe and stops damage.
Use controls and dimmers to change brightness. This saves power and helps your led lights last longer.
Keep the temperature steady. Good airflow stops the lights from getting too hot.
Clean the covers with a soft cloth and gentle soap. Dust can make your lights dim by up to 30%.
Make sure all parts are dry before you put them back together.
Note: Checking your lights every week helps you find small problems before they get worse.
You did it! By planning your light setup, using quality parts, and following safety steps, you make your home brighter and safer. Remember these tips:
Always check wires and use insulated tools.
Pick the right drivers and dimmers.
Keep up with regular maintenance.
Enjoy your new LED lights!
FAQ
How do you know if your LED lights are compatible with dimmer switches?
Check the packaging for "dimmable" labels. If you see it, your LED lights work with most modern dimmer switches.
What should you do if your LED lights won’t turn on?
First, check the power supply and connections. Try a different outlet. If nothing works, replace the driver or contact support.
Can you cut LED strips to fit your space?
Yes, you can cut most LED strips at marked lines. Use sharp scissors. Always turn off the power before cutting.
See Also
Exploring Acrylic LED Light Boxes: Varieties And Uses
Understanding LED Light Box Displays And Their Features
Selecting The Ideal Wall-Mounted Display For LED Light Boxes
Acrylic Light Displays: Evaluating LED, RGB, And Battery Choices
