How to Use Illuminated Paper for Stunning Visual Displays and Signage

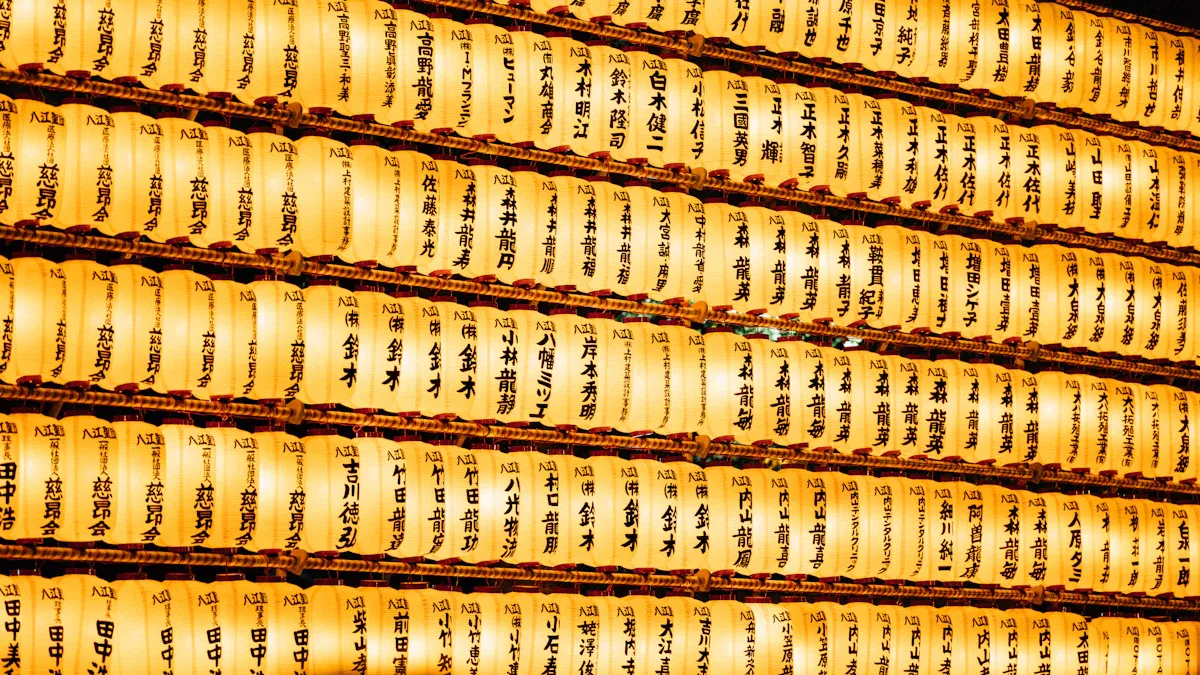
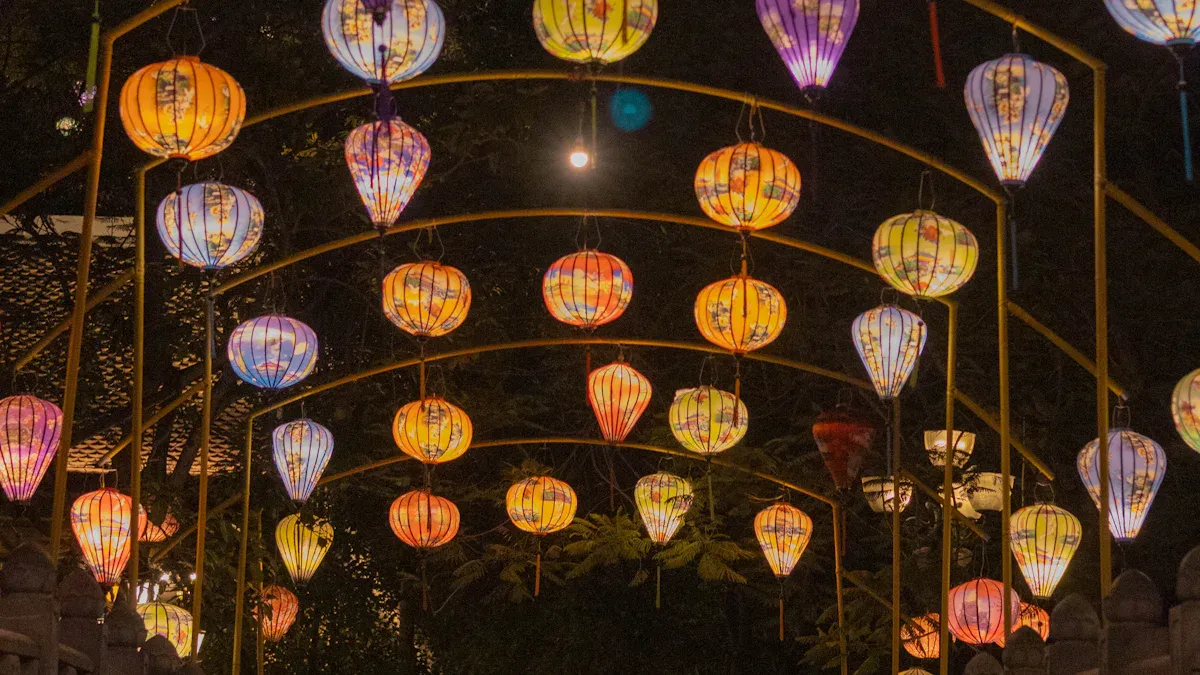
Imagine you walk into a store and see a bright display. The colors shine and make the display look alive. Illuminated paper helps you change plain signs into cool effects. These effects catch people’s eyes right away. You can use illuminated signage to help your business get noticed. It can also make events more fun. You can even make special art at home. Anyone can use illuminated paper, no matter their skill level. You can be creative and make your displays look professional.
Key Takeaways
Illuminated paper makes displays that people notice all day and night. - Pick colors that stand out and use easy-to-read fonts. This helps people read your signs from far away. - LED lights work best for lighting up your displays. They give bright and even light. - Make your designs simple and do not add too much. This helps your message be clear. - Take care of your illuminated signage and check it often. This will help it last longer and look nice.
Illuminated Paper Basics

What Is Illuminated Paper
You might wonder what makes illuminated paper special. This type of paper works with light to create bright, eye-catching displays. It spreads light evenly, so your signs look clear from every angle. You can see the difference in the table below:
Property | Description |
|---|---|
Energy Efficiency | Uses power only when changing content, so it lasts a long time. |
Readability in Direct Sunlight | Stays clear and easy to read, even in bright sunlight. |
Paper-like Appearance | Looks like real paper, with sharp text and high contrast. |
Flexible and Durable | Some types bend without breaking and handle bumps better than screens. |
Wide Viewing Angles | Stays bright and readable from many directions. |
Illuminated paper uses science to make displays pop. It acts like a perfectly diffuse surface, so the light spreads out and looks bright from any spot. This helps your message stand out, no matter where people stand.
Key Benefits and Applications
When you use illuminated paper, you get more than just a cool look. Here are some reasons people love it:
You can create illuminated signage that grabs attention day and night.
It offers endless branding options with different colors and effects.
Your signs stay visible at night, so your business never goes dark.
Illuminated paper is energy-efficient and saves money on power.
It needs little care and lasts a long time.
People notice your signs from far away, which helps bring in more customers.
It works well for art projects, like shadowboxes or paper circuits with lights.
Teachers use it in STEAM classes to make learning fun.
Backlit Film vs. Illuminated Paper
You might hear about backlit paper or backlit film when looking for display options. Backlit paper is great for simple, short-term displays. Backlit film, on the other hand, is thicker and made from strong polyester. It gives you sharper, more vibrant images and lasts longer. Backlit film also spreads light very well, making it perfect for menu boards or retail signs. If you want something quick and easy, backlit paper works. For displays that need to last and look extra bright, backlit film is the better choice.
Creating Stunning Visual Effects

Design Principles for Impact
You want your display to stand out. Start with a few simple design rules that always work. Think about how people see your sign from far away and up close. Use high contrast between your text and background. This makes your message easy to read, even in bright light. Pick fonts that are simple and bold. Sans-serif fonts work best because they look clean and clear. Try not to use more than two different fonts. Too many styles can make your sign look messy.
A good layout helps people find the most important information fast. Use white space to keep things from feeling crowded. Place your main message at the top or in the center. Add high-quality images that match your message. If you want to add a little movement, try subtle animations. These can guide people’s eyes to what matters most without being distracting.
Here’s a quick table to help you remember these design tips:
Design Principle | Description |
|---|---|
Color Scheme | High contrast between text and background makes your sign pop. |
Font Selection | Use sans-serif fonts; limit to two types for a clean look. |
Content Layout | Clear hierarchy and white space help people focus on your message. |
Use of Visuals | Sharp, relevant images grab attention and keep it. |
Animation and Motion | Subtle movement can highlight key points without causing distraction. |
You can see these ideas in action at places like the Tenley-Friendship Neighborhood Library in Washington, DC. The library uses lighting to make the building feel warm and welcoming. They use vertical fins and skylights to bring in natural light. In the children’s area, playful round lights make the space feel fun and friendly. You can use the same ideas for your illuminated signage or art.
Choosing Colors and Graphics
Color can make or break your display. If you want stunning visual effects, use bold, intense colors. Pair them with strong light and dark contrasts. This makes your sign look bright and exciting. If you want a softer look, use colors that are close together on the color wheel and keep the contrast low.
Here’s a table to help you pick the right color style:
Stimulation Level | Color Characteristics | Recommendations |
|---|---|---|
Maximum | Intense colors | Use contrasting hues and strong light-dark contrast |
Minimal | Non-pure, dull colors | Use close hues and low light-dark contrast |
When you print on backlit paper, the brightness of the paper matters. Brighter paper gives you more vibrant images. If you want your colors to pop, choose a paper with a high brightness level. This works well for both images and text. You get the best results when you use bright colored paper for printing bold graphics.
Brighter paper will display a more vibrant image. If the quality of what you are looking to print is sharp and vibrant, then you want a paper with a brightness level that will translate that. Bright colored paper is also better suited when printing images or text with vibrant colors. The brighter the paper, the more vibrant the color will be.
Try to use high-resolution graphics. Blurry or pixelated images look worse when you use backlit paper. Keep your graphics simple and clear. Too much detail can get lost when the light shines through.
Integrating Lighting for Best Results
Lighting is the secret to making your backlit display shine. The right lighting setup can turn a simple sign into something amazing. You have many lighting options, but led lights work best for most projects. They are bright, energy-efficient, and easy to control. You can use led window displays to make your signs visible day and night.
Check out this table for some lighting choices that work well with backlit paper:
Lighting Technology | Features |
|---|---|
ALL-IN-1 Light Paper | Color changing, tunable white, thin, lightweight, flexible, cuttable. |
Basic Outdoor Light Paper | Good for indoor/outdoor use, thin, flexible, different brightness levels. |
Tunable Basic Outdoor Light | Adjustable white color, flexible, fits many structures. |
RGB Outdoor Light Paper | Works indoors/outdoors, flexible, many brightness options. |
Diffused Light Paper | Wide light spread, flexible, fits many structures. |
Basic Light Paper | Flexible, many brightness options, fits many structures. |
To get even lighting, you need to think about where you put your lights. Here are some tips to help you avoid shadows and bright spots:
Place leds in front of the tension rod. This helps light reach the whole sign.
Move leds as close as you can to the tension rod. This lets the light beams mix and reduces shadows.
If you can’t move the leds closer, use black tape to block extra light from some modules.
Space your led modules evenly. This stops hot spots and makes the light look smooth.
When you follow these steps, your backlit display will have stunning visual effects. You can use these tricks for menu boards, retail signs, or even art projects at home. Backlit paper and the right lighting can help you create displays that people remember.
Printing and Installation Tips
Printer Settings and Media Options
Getting your prints to look sharp on backlit paper starts with the right printer settings. You want your illuminated signage to stand out, so always choose the highest print quality mode on your printer. This setting helps your colors look bright and your images stay crisp. If you use a desktop or inkjet printer, you are in luck. Most high-quality backlit paper works well with these printers. The paper is usually about 150 microns thick, which makes it sturdy but still easy to handle.
Here’s a quick table to help you set up your printer for the best results:
Recommendation | Description |
|---|---|
Highest Print Quality Mode | Pick the best print quality for sharp, vibrant images. |
Check Ink Drying Time | Let your prints dry longer to avoid smudges or ink pooling. |
Use Specific Paper Settings | Select the right paper type in your printer menu for better color accuracy. |
Tip: After you print on backlit paper, give it extra time to dry. This step helps prevent smudging, especially if you plan to handle or cut the paper soon after printing.
When you use translucent paper, your colors will pop and your display will look smooth. This is perfect for backlit displays in stores, restaurants, or even led window displays at home.
Cutting and Handling Techniques
Cutting backlit paper the right way keeps your display looking clean and professional. If you want to avoid frayed edges or damage, use sharp tools and a steady hand. Always cut the paper face side down. This trick helps prevent discoloration on the printed side. Make sure your cutting surface is clean. Any dirt or residue can stick to your paper and ruin the look.
Here are some best practices for cutting backlit paper:
Clean your tools and cutting bed before you start.
Use a sharp blade or a laser cutter with a short focal length lens (1.5–2.5 inches).
Set your laser cutter to low power (10–17%) and a speed of 20–30mm/s if you use one.
Maximize air assist, but don’t let it blow the paper around.
Cut with the printed side facing down to keep colors bright.
Always consider the thickness of your backlit paper when choosing your cutting method.
Note: If you use a laser cutter, make sure the mirrors and lens are clean and focused. This step helps you get a smooth, even cut every time.
Lightbox and Mounting Methods
Mounting your backlit paper in lightboxes is the final step to making your display shine. You want your sign to look straight and professional, so take your time with this part. Start by picking a spot that gets lots of attention. Use a tape measure and a level to mark where your lightbox will go. This helps you avoid crooked signs.
Follow these steps to install your backlit display in lightboxes:
Gather your tools: lightbox, screws, anchors, a level, and a drill or screwdriver.
Choose a spot that is easy to see and reach.
Read the instructions for your lightbox before you start.
Secure the lightbox to the wall with screws and anchors.
Use the level to make sure your lightbox is straight.
Place your backlit paper inside the frame, making sure it sits flat.
Test the lightbox to see if your display lights up evenly.
Tip: If you plan to change your designs often, try using ultra-slim led frames or snap frames. These frames make it easy to swap out your backlit paper without taking the whole display apart.
You can use these mounting methods for all kinds of displays, from menu boards to illuminated signage in busy stores. Lightboxes work great for both permanent and temporary displays. With the right setup, your backlit paper will glow evenly and grab everyone’s attention.
Troubleshooting and Best Practices
Avoiding Common Mistakes
You want your illuminated signage to look great. Watch out for some easy mistakes. Some people pick colors that do not stand out. If your text and background look alike, it is hard to read. Keep your designs simple. Too many details or fancy fonts make things confusing. Always check the size of your sign. If the text is small, people cannot see it from far away.
Lighting is very important. If you do not use enough lights, your display looks uneven. Put your lights in the right spots. Use led lights with diffusers to spread light smoothly. Some people forget about local rules or permits. If you skip these, you might get fined. Do not use cheap materials. Bad backlit paper can fade or bend fast.
Here are some mistakes you should avoid:
Designs that are too busy
Wrong size for your sign
Not enough lighting or uneven light
Forgetting local rules
Using poor materials
Putting signs where people cannot see them
If you see warping or uneven light, check your setup. Use strong backing in your lightboxes. Keep your display away from sunlight and wet places. The table below shows quick fixes:
Issue | Solution |
|---|---|
Direct sunlight | Do not put signs on windowsills or use UV covers |
Inadequate support | Use strong backing or shelves inside lightboxes |
Poor lighting choices | Use led lights with diffusers to stop glare and fading |
Humidity and temperature | Keep the room cool and dry; avoid wet surfaces |
Maintenance and Safety
Taking care of your illuminated signage helps it last longer. Clean your displays often to keep dust away. If you use led window displays or lightboxes, check the wires and bulbs sometimes. You can hire someone for big repairs or checks.
Follow these steps to keep your backlit paper displays looking good:
Wipe the surface gently with a soft cloth.
Get a pro to check wires and bulbs sometimes.
Fix or paint frames if they look old.
If you use solar lights, clean the panels so they work well.
Pick strong, weather-proof materials for outdoor signs.
Tip: Make sure your lightboxes are easy to reach for cleaning and fixing. This helps you fix problems quickly and keeps your display safe for everyone.
When you print on backlit paper, be careful not to scratch it. Good care and safe setup will help your illuminated signage look bright for years.
You can make cool illuminated signage if you follow easy steps. Try out different designs and lighting to see what you like best. When you use illuminated paper, you get:
Pictures stay clear and last a long time
It helps stop scratches and sunlight damage
If you want the best results, look at these trusted suppliers:
Supplier Name | Product Type | Key Features |
|---|---|---|
E-paper Displays | Custom formats, energy-efficient, great for digital signage | |
Impact LED Signs | Outdoor LED Signs | Reliable, affordable, designed for long-lasting use |
Try using illuminated paper for your next project and see your display get noticed!
FAQ
What makes illuminated paper different from regular paper for signage?
Illuminated paper spreads light evenly. Your signage looks bright and clear from every angle. Regular paper does not glow or show colors as well. You get a more eye-catching effect with illuminated paper, which helps your signage stand out.
Can I print on illuminated paper with a home printer?
Yes, you can use most inkjet or laser printers for your signage. Just pick the highest print quality. Let the ink dry longer than usual. This step keeps your signage looking sharp and stops smudges.
How do I keep my signage from fading or warping?
Keep your signage away from direct sunlight and wet spots. Use strong backing in your lightbox. Clean your signage with a soft cloth. These steps help your signage last longer and look great.
What lighting works best for illuminated signage?
LED lights work best for illuminated signage. They are bright, energy-saving, and easy to use. Place them close to your signage for even light. You can also use diffusers to stop bright spots and make your signage glow smoothly.
Where can I use illuminated signage?
You can use illuminated signage in stores, restaurants, schools, or at home. It works for menu boards, event signs, art projects, and window displays. Your signage will grab attention anywhere you want people to notice your message.
See Also
Utilizing Digital Signage for Effective Information Presentation
10 Innovative Applications of Acrylic LED Light Boxes
Exploring LED Digital Signage: Uses, Tech, and Advantages

