How to Make a DIY LED Lightbox at Home

You can make your own diy lightbox at home, and it’s easier than you might think. You don’t need fancy tools or special skills. People just like you have created amazing led lightbox projects using things they already had around the house.
One person built four LED frames and a huge frame for posters, feeling proud of their work.
Someone else made a light box for a double-sided movie poster and wants to make more for family.
You’ll find simple steps and smart tips that help you get started, no matter your experience.
Key Takeaways
Collect easy-to-find things like cardboard, LED strips, and a clear panel to make your lightbox at home.
Cut the pieces, put them together, and add the lights to build a bright and useful lightbox.
Add a diffuser to make the light softer and stop glare, so your photos look better.
Change your lightbox design to match your style and needs, so it feels special to you.
Stay safe by checking wires often and watching kids while working on the project.
DIY Lightbox Materials
Essential Supplies
You don’t need fancy stuff to start your diy lightbox project. Most people grab things they already have at home. Here’s what you’ll want for a basic build:
Cardboard or foam board for the box frame
A clear or frosted panel for the front (like acrylic, polystyrene, or even a plastic folder)
LED strip lights for bright, even lighting
Tape or glue to hold everything together
White paint or paper to line the inside for better light reflection
Wondering which panel material works best? Check out this quick guide:
Material | Characteristics |
|---|---|
PS (Polystyrene) | Great light transmittance, budget-friendly |
PMMA (Acrylic) | Super clear, tough against weather |
PC (Polycarbonate) | Strong, hard to break |
Milk glass | Fancy look, spreads light nicely |
Opal glass | Hides led strips, spreads light well |
Frosted surfaces | Softens light, cuts down glare |
Tool List
You don’t need a workshop for this project. Grab these simple tools:
Scissors or a craft knife for cutting cardboard and panels
Ruler or measuring tape for straight lines
Pencil for marking cuts
Screwdriver (if your led strips need mounting)
Paintbrush (if you want to paint the inside)
Tip: Always use a cutting mat or thick magazine under your work to protect your table.
Material Alternatives
Don’t have all the supplies? No problem! You can swap out many items:
Use a plastic storage tub instead of cardboard for a sturdy box.
Try a tablet screen protector or a frosted plastic folder for the front panel.
If you can’t find led strips, use small battery-powered puck lights.
Double-sided tape works if you don’t have glue.
When picking led strips, some brands stand out for diy projects. Here’s a quick look:
Brand | Features |
|---|---|
Easy setup, comes with power supply and app | |
BTF-Lighting | Cheap, lots of lights, but not waterproof |
Lamomo | Good value, hardware included, colors may be a bit off |
Alitove | Not very efficient, so best to skip |
You can mix and match supplies to fit your budget and style. That’s the fun part of making your own lightbox!
How to Make a Lightbox
Ready to build your lightbox? You’re about to see just how simple it can be. Grab your supplies and let’s walk through each step together. You’ll learn how to make a lightbox that looks great and works even better.
Cutting and Preparing Pieces
Start by getting your materials ready. Follow these steps to make sure everything fits together nicely:
Cut out your template on acrylic or cardboard. If you want your led lightbox to last, pick a white, translucent material.
Cut two sides for your box. Leave flaps attached if you want doors. Make clean cuts so the light spreads evenly.
Measure and cut wax paper. This will cover your cutouts and help soften the light. Leave a little extra so you can tape it down.
Cut aluminum foil for the barn doors. This acts as a reflector and boosts brightness.
Paint the inside of your box white or line it with white paper. This step makes your lightbox much brighter.
Set up a white backdrop inside. Place your product and flaps to catch as much natural light as possible.
Tip: If you don’t have acrylic, use a plastic tub or even a tablet as your front panel. You can get creative with what you have!
Assembling the Box
Now it’s time to put everything together. You want your diy lightbox to be sturdy and neat. Here’s how you can do it:
Technique | Description |
|---|---|
Reinforce corners | Keeps the lightbox strong and stable. |
Use appropriate fasteners | Ensures the frame remains square during assembly. |
Align removable panels | Prevents bowing and maintains structural integrity. |
Regular inspections | Helps avoid long-term structural issues. |
Use screws or wood glue | Attaches sides securely for a neat appearance. |
Consider magnets or clips for panels | Allows for easy access to change the diffuser or fix lighting later. |
Paint the inside white | Enhances light reflection, making the lightbox brighter. |
Space LED strips appropriately | Prevents hotspots and ensures even light distribution across the box. |
Use a frosted diffuser | Softens light and reduces glare, making the lightbox comfortable for extended use. |
Use screws or strong adhesive to hold the sides together.
Add hinges if you want easy access to the inside.
Think about adding a stand for extra support.
Note: Always check that your panels line up before you glue or screw them together. This keeps your led lightbox looking sharp.
Installing LED Lights
You want your led lightbox to shine bright and even. Here’s what you should do:
Pick high-lumen led strips for the best brightness.
Mount the led strips around the edges of your frame. This spreads the light evenly and avoids dark spots.
Use frosted acrylic or wax paper to scatter the light. This makes your lightbox glow softly.
Make sure your power source is safe and secure. If your led strips get warm, leave space for air to flow.
Try adding a dimmer switch. This lets you control how bright your lightbox gets.
Tip: Space your led strips evenly. If you bunch them up, you’ll get hot spots and uneven lighting.
Adding the Diffuser
The diffuser is what makes your lightbox special. It softens the light and helps your photos look professional. Here are some great options:
Type | Properties | Applications |
|---|---|---|
Polycarbonate | Distributes light evenly, reduces glare, lightweight, durable, impact-resistant, good UV resistance | |
Acrylic (PMMA) | Known for clarity, diffuses light without distortion, available in various opacities and textures | Used in light boxes for uniform light |
Place your diffuser over the front opening of your box.
Secure it with clips, tape, or magnets so you can swap it out later.
If you want extra soft light, layer wax paper or use a frosted plastic folder.
Tip: Try different diffuser materials to see which one gives you the look you want.
Final Assembly and Testing
You’re almost done! Now you just need to finish up and test your led lightbox.
Double-check that all sides are secure and the diffuser is in place.
Plug in your led strips and turn on the power.
Look for any dark spots or glare. Adjust the led strips or diffuser if needed.
Place an object inside and snap a photo. See how the lightbox makes your subject pop!
If you want to build your lightbox for a specific project, try changing the size or shape. You can always customize it later.
Callout: Don’t forget to unplug your led lightbox when you’re done. Safety first!
Now you know how to make a lightbox that fits your needs. You can build your lightbox with simple tools and materials. Try different styles and see what works best for you!
Lightbox Tips and Safety
Improving Light Diffusion
You want your led lightbox to give soft, even light. Photographers say translucent sides help a lot. This lets light go through and spread out. It stops harsh shadows and reflections. Put your lights so they face the diffusion material. Use tissue paper or wax paper for this. You can use two to four clip-on led lamps. Put two lamps on the sides and one on top. Always check for dark spots or glare. If you see uneven light, move your lights or get a better diffuser. Lowering brightness can help stop glare and show product details.
Power Source Options
Choosing the right power source keeps things safe and easy. Here’s a quick look at common choices:
Voltage Rating | Key Advantages | Suitable Applications | Considerations |
|---|---|---|---|
12V | High safety, soft light, easy to install | Home decor, short-distance lighting | Use power extension beyond 5 meters to prevent voltage drop |
24V | Minimal voltage drop, flexible cutting | Home decor, display cases | Needs dedicated power supply |
48V | Minimal line loss, great for long connections | Large-scale lighting | Needs professional installation |
Most people use 12V led strips because they are safe. They are also easy to work with. If you want a bigger box, try 24V or 48V. These need extra care.
Safety Precautions
Safety is very important when using electricity and led strips. Always check for these dangers:
Wet outlets can cause electric shock.
Wrong extension cords can overheat and start fires.
Open wires or panels can be touched by accident.
Old insulation can show live wires and cause shock or fire.
Look for led strips with UL or CE marks. These mean your strips are safe. Always unplug your led lightbox before cleaning or fixing it.
Tip: Wipe the outside and diffuser often. Check wires every week. Look at led panels and power supply each month. Change old parts every year to keep your lightbox safe.
Common Mistakes
Many people have trouble with uneven light or flickering leds. Here’s how to fix these problems:
Move your led strips so they line up.
Get a better diffuser for smoother light.
Change any leds that look dim or do not work.
If you take care of your lightbox, it will last longer. It will work better and give great results every time.
Creative Uses for Your LED Lightbox
Photography Applications
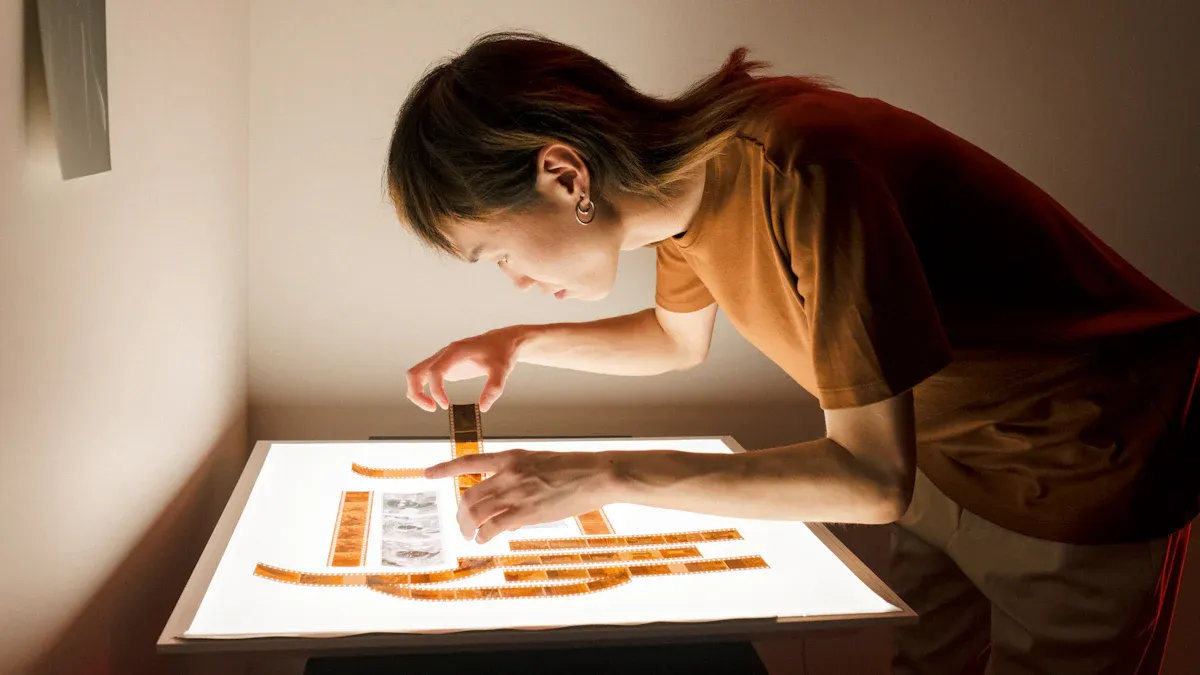
You can use your lightbox to take sharp, professional-looking photos at home. Many people love using a homemade photography lightbox for product shots, jewelry, or even food. You get soft, even lighting that makes every photograph look better. Try placing your camera above the box or at an angle. Most DIY lightboxes use LED strips with color temperatures like 6500°K for bright, cool light. If you want warmer tones in your photograph, switch to 4100°K. You can experiment with backgrounds and props to make your photos pop.
Tip: Move your subject closer to the center of the lightbox for the best results. You will see fewer shadows and more detail in every photograph.
Art and Display Ideas
Your lightbox isn’t just for photos. You can turn it into a creative display for art, collectibles, or crafts. Online galleries show people using step-by-step instructions and visual aids to build custom LED lightboxes for their favorite pieces. You can change the design to fit your style or use. Here are some cool ideas:
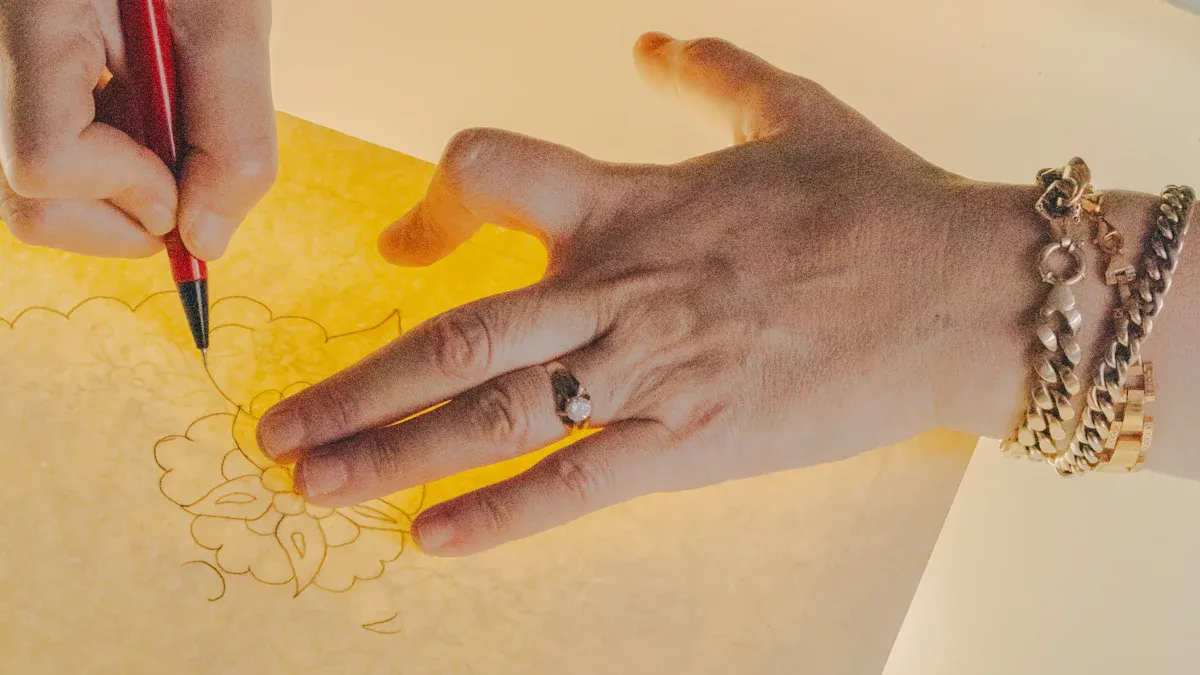
Show off drawings or paintings with a glowing frame.
Display action figures or models with soft, even light.
Use the lightbox as a sign for your room or event.
Swap out panels to match holidays or seasons.
You can add your own touch to every display. The potential for customization is huge.
Personalization Options
You can make your lightbox unique. Builders often choose special finishes, shapes, and lighting setups. Here’s a quick look at popular types:
Lightbox Type | Description |
|---|---|
Standard Backlit Lightbox | The whole front glows, great for bold statements. |
Fret-Cut Lightbox | Letters cut out for a high-contrast effect. |
Edge-Lit Lightbox | LEDs along the edges for a modern, subtle glow. |
Fabric SEG Lightbox | Frameless look with easy graphic swaps, perfect for retail. |
Snap Frame Lightbox | Quick graphic changes, ideal for posters and menus. |
You can add 3D logos, magnetic mounts, or even floating shelves. Some people personalize the shape, scale, and depth to fit their brand. You can pick from many lighting solutions or even program your own effects.
Note: Try mixing finishes and lighting styles. Your lightbox can match your personality or your space.
You just learned how to build your own LED lightbox at home. The process is simple and budget-friendly. Many people say making a DIY lightbox saves money and lets you customize every detail. You can use common materials and follow easy steps:
Gather supplies.
Cut and assemble the box.
Add lights and a diffuser.
Test your setup.
Want to share your project or ask questions? Drop a comment below! Your creativity can inspire others. 😊
FAQ
How long does it take to build a DIY LED lightbox?
You can finish your lightbox in about one hour. If you paint or customize it, you might need extra time. Most people complete the basic build in one afternoon.
Can I use regular lights instead of LED strips?
Yes, you can use small desk lamps or battery-powered puck lights. LED strips work best for even lighting, but regular lights can work if you place them carefully.
What size should my lightbox be?
Pick a size that fits your project. For product photos, a box around 16 x 16 inches works well. You can make it bigger or smaller based on what you want to photograph or display.
Is it safe for kids to help with this project?
Kids can help with painting and assembling. You should handle cutting and wiring. Always supervise and keep sharp tools and electrical parts away from children.
How do I clean my LED lightbox?
Wipe the outside with a soft cloth. Clean the diffuser gently. Unplug the lightbox before cleaning. Check wires and LED strips for dust or damage once a month.
See Also
5 Fun DIY Acrylic Light Box Projects To Try
The Benefits Of Using DIY Acrylic Light Box Kits
Creating The Perfect Light Box For Acrylic Art Displays
