How to Install Acrylic Sheets Like a Pro


Installing acrylic sheet installation can give your space a fresh look. They make rooms brighter and help lower energy bills. Many people pick acrylic windows or panels because they are light, useful, and simple to use. With clear steps, you can make the acrylic sheet installation look professional without trouble.
Did you know acrylic sheets save energy?
They let in more sunlight, so you use less electricity.
Experts say their insulation makes them a smart choice.
Their smooth style and custom options are great for modern homes.
With the right tools and planning, you’re ready to start the acrylic sheet installation!
Key Takeaways
Acrylic sheets save energy by letting in more sunlight. This helps lower electricity bills.
Preparing well is very important for good installation. Clean the area and use proper tools to prevent errors.
Pick the best installation method for your project. This makes it strong and works well.
Understanding Acrylic Sheets
What Are Acrylic Sheets?
Acrylic sheets are strong, lightweight plastic panels that look like glass. They are made from a material called polymethyl methacrylate (PMMA). Many people also call them plexiglass. These sheets are usually clear but come in many colors and finishes. Their flexibility makes them a favorite for homes and businesses.
Unlike glass, acrylic sheets don’t shatter easily and are simpler to use. They also cost less, which is why they’re common in building and design projects. Whether you’re adding acrylic windows or making custom wall panels, these sheets give a modern and stylish look.
Common Applications of Acrylic Sheets
Acrylic sheets are used in many industries because they are tough and versatile. Here are some popular uses:
Construction: Great for windows, skylights, and canopies because they’re light.
Signage: Perfect for bright displays due to their bold colors and easy shaping.
Furniture: Used in modern styles needing scratch resistance and flexibility.
Electronics: Ideal for screens, protective covers, and decorative panels.
In 2022, construction and architecture made up 35.4% of the acrylic sheets market. This shows how important they are in today’s designs.
Benefits of Acrylic Wall Panels and Secondary Glazing
Acrylic wall panels are a great way to improve your space. They’re simple to clean, scratch-resistant, and come in custom designs. Secondary glazing helps with insulation and cuts down noise. Both options save energy and lower your bills. Plus, their UV resistance keeps them from fading or cracking for years.
Tip: For the best results, pick high-quality acrylic sheets with strong impact resistance.
Preparation for Acrylic Sheet Installation
Getting ready to install acrylic sheets is very important. Good preparation makes the process easier and gives better results. Here’s how to start and what you’ll need.
Tools and Materials You’ll Need
Using the right tools helps a lot. Here’s what you’ll need:
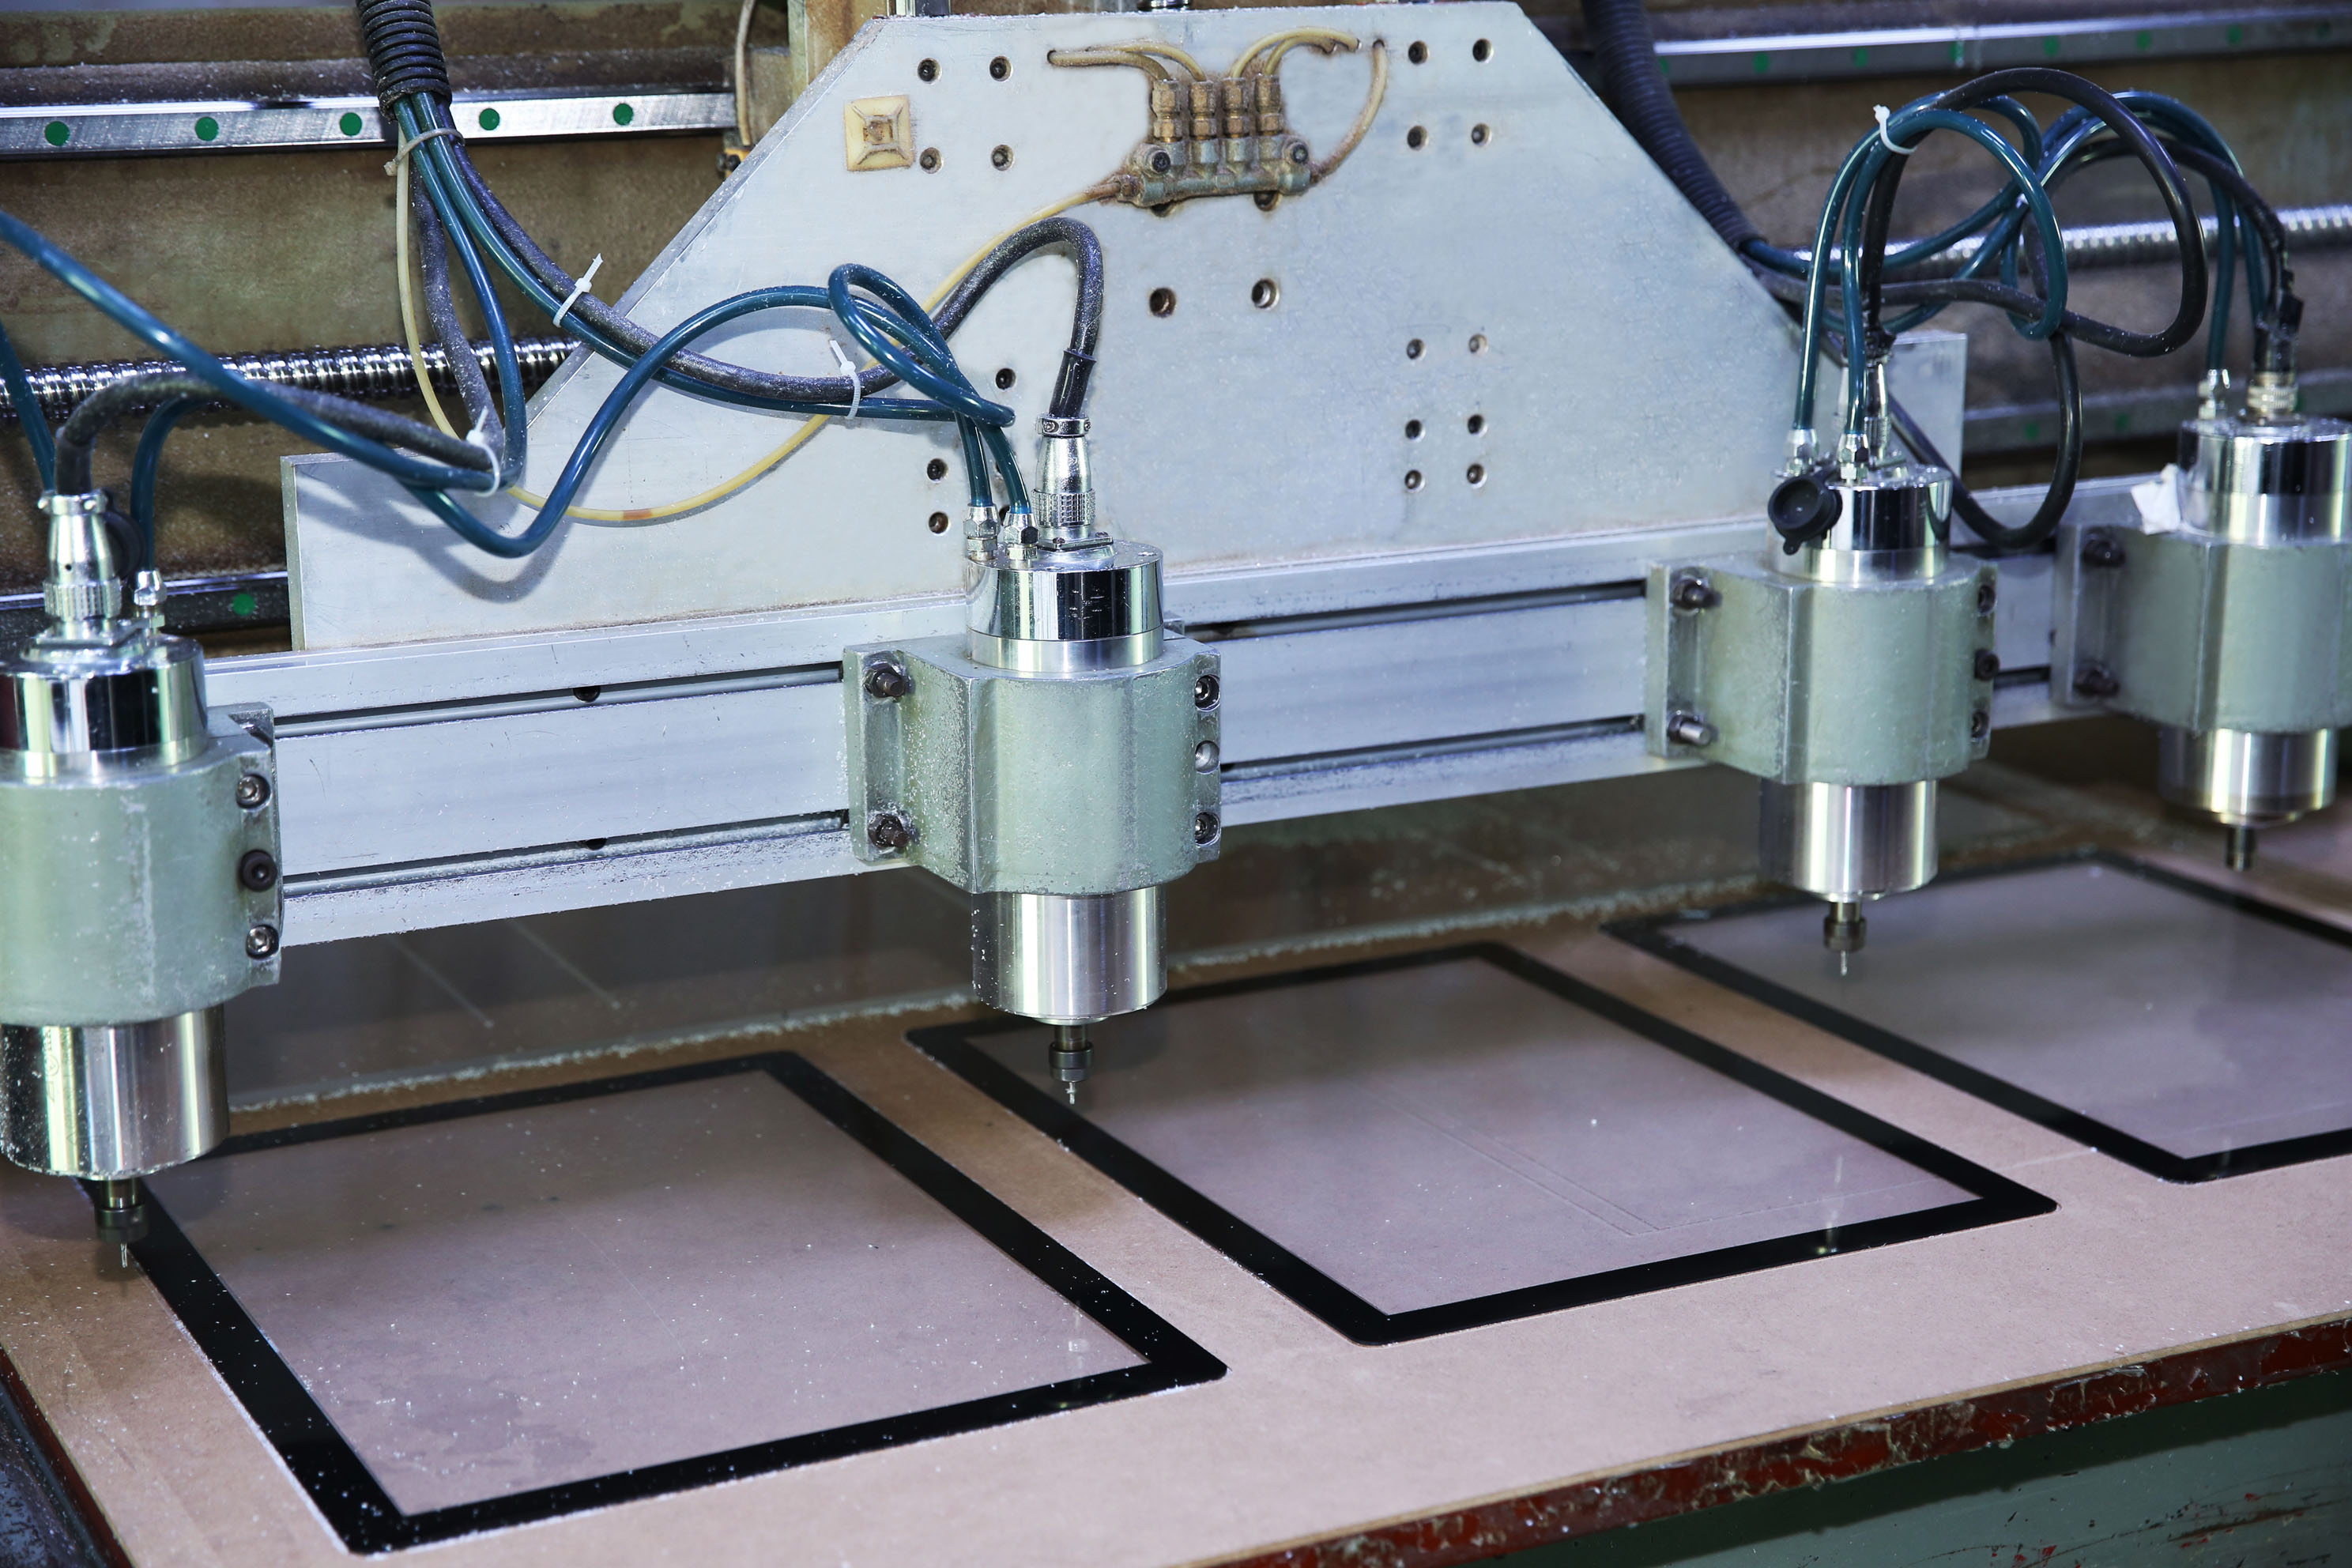
Special drill bits for acrylic, like spade or brad point bits.
A circle cutter with 400-600 RPM for smooth cuts.
Clamps to hold the acrylic sheet steady while cutting.
A spray bottle to cool the cutter and reduce heat.
Guides or templates to shape the sheet accurately.
Adhesives, fasteners, and polish for finishing touches.
Tip: Handle acrylic sheets gently to avoid scratches. Wear gloves and lift large sheets carefully.
Measuring and Marking for Accuracy
Measuring correctly is very important for a good fit. Follow these steps:
Take off the protective film and place the sheet on a soft surface.
Use a level to draw straight lines on the wall with a pencil.
Drill holes where you marked using the right drill bit.
Put anchors in the holes and attach the bottom standoffs.
Line up the acrylic sheet with the standoffs and secure it with caps.
Pro Tip: Keep holes at least 1.5 times their diameter from the edge to stop cracks.
Preparing Surfaces for Acrylic Wall Panels
The wall must be clean and dry for the panels to stick well. Dirt, grease, or water can ruin the job. Wipe the wall with a damp cloth and let it dry. If the area is humid, check for moisture on the wall. This avoids peeling or bubbling later.
Avoiding Common Preparation Mistakes
Mistakes during preparation can cause problems. Avoid these errors:
Not cleaning the wall, which weakens the bond.
Using the wrong drill bits, which can crack the sheet.
Forgetting to support the sheet while cutting, causing chips.
Ignoring moisture, which can damage the wall over time.
By following these tips, you’ll be ready for a great acrylic sheet installation.
Step-by-Step Acrylic Sheet Installation Process
Taking Off the Protective Film
The first step is removing the protective film. Use a hair dryer to heat the film gently. Move the dryer evenly across the surface. Don’t keep it in one spot too long to avoid damage. You can also use a cloth soaked in liquid gasoline. Let it sit for an hour, then peel the film off slowly.
Tip: Peel the film carefully to stop scratches or sticky marks on the acrylic panels.
Marking and Placing the Acrylic Sheet
Marking correctly helps with a smooth installation. Lay the acrylic sheet on a soft surface. Use a pencil to mark where you’ll drill. A level helps make straight lines. Place the sheet on the wall, matching your design plan.
Drilling Holes Without Breaking the Sheet
Drill holes in the acrylic with care. Use a spiral drill bit made for plastic. Keep the drill at a low speed. Hold the sheet steady with clamps. Put a scrap piece under the sheet to stop chipping. Avoid drilling too close to the edges to prevent cracks.
Adding Anchors or Mounting Hardware
Anchors or standoffs hold the acrylic panels in place. For floating standoffs, put anchors in the holes and attach the standoffs. For flush standoffs, make sure the hardware is flat against the wall. Tighten screws gently to avoid breaking the acrylic.
Fixing Acrylic Wall Panels
Line up the acrylic panels with the anchors or standoffs. Secure them with caps or screws, making sure they’re even. Check the alignment before tightening everything. This finishes the main part of the installation.
Installing Acrylic Secondary Glazing
To add secondary glazing, measure the window frame carefully. Cut the acrylic sheet to fit. Magnetic acrylic windows are easy to install. Stick magnetic strips to the frame and sheet, then snap them together. This helps with insulation and reduces noise.
Other Methods: Magnetic and Adhesive Installation
Magnetic installation is great for temporary setups. It’s fast and doesn’t need drilling. Adhesive mounting is better for permanent setups. Spread strong adhesive on the back of the acrylic sheet. Press it firmly onto the wall.
Note: Magnetic acrylic windows are a good choice for renters who want a simple, non-damaging option.
Finishing Touches for a Professional Look
Checking the Installation
After installing the acrylic wall panels or secondary glazing, check your work. Look to see if the panels are straight and evenly spaced. Make sure the edges touch the wall or frame without gaps. If there are gaps, tighten screws or adjust the adhesive to fix them.
Check the mounting hardware too. Loose screws or standoffs can make panels move later. Gently pull on them to ensure they’re secure. If you used magnetic strips, confirm they hold the panels tightly. A quick check now can prevent problems later.
Cleaning and Polishing Acrylic Sheets
Clean acrylic sheets to keep them looking great. Use a soft cloth to remove dust. Mix warm water with mild dish soap for cleaning. Don’t use strong chemicals as they can harm the surface. Wipe in circles, rinse well, and dry with a clean cloth to avoid streaks.
If there are small scratches, use a plastic scratch remover and a soft pad to polish them. For deeper scratches, sand lightly with 400-grit sandpaper. Then, buff the area with a polishing compound and a muslin wheel. To make it shiny, use a soft cotton or flannel wheel. A buffing wheel on a drill works well for this.
Tip: Clean regularly to keep panels shiny and lasting longer.
Making Acrylic Sheets Last Longer
To keep your acrylic sheets in good shape, seal and mount them properly. Use high-quality adhesives or sealants that don’t release harmful chemicals. Avoid acetoxy silicone sealants, as they release acid that can damage the installation. Neutral-cure silicone is a better choice.
Face-mounting methods can also help protect the acrylic. They slow down color fading and shield the material from damage. The durability of your installation depends on the acrylic type, mounting method, and environment.
Key Factors for Long Life | Suggestions |
|---|---|
Sealant Type | Use neutral-cure silicone |
Mounting Method | Face-mounting for protection |
Environmental Conditions | Avoid humidity and sunlight |
Follow these tips to keep your acrylic panels or windows in great condition for years.
Pro Tips for Installing Acrylic Sheets Successfully
Safe Ways to Handle Acrylic Sheets
Be careful when handling acrylic sheets to avoid damage. Always wear gloves to protect your hands and keep the sheets clean. For large sheets, get help to lift them so they don’t crack or bend. Use clamps to hold the sheets steady while cutting or drilling. This stops them from moving and helps you work accurately.
If there’s dust around, wear safety goggles to protect your eyes. Keep your workspace tidy to avoid tripping or dropping the sheets. These simple steps make your work safer and easier.
Aligning Acrylic Panels the Right Way
Getting the panels straight is important for a neat look. Use a level to draw straight lines on the wall. Mark where the panels will go with a pencil. Before attaching them, hold the panels up to check if they’re aligned.
For windows or secondary glazing, measure the frame carefully. Magnetic strips can help you line up the panels quickly. If using glue, spread it evenly to avoid gaps. Taking your time with alignment makes the result look professional.
Protecting Acrylic Sheets from Scratches
Acrylic sheets are strong but can scratch easily. To keep them safe, try these tips:
Method | How It Helps |
|---|---|
Coatings | Adds a layer to protect against scratches and damage. |
Screen Protectors | Shields the surface from wear and tear. |
Powder Coating | Makes the sheet tougher against stress and scratches. |
Always place the sheets on a soft surface when working. Don’t drag them across rough areas. Clean them with a soft cloth or sponge to avoid tiny scratches. These steps will keep your sheets looking great.
Picking the Best Installation Method
Choose the right method based on your project needs. Think about these questions:
Factor | Questions to Ask |
|---|---|
Size and Strength | How big is the sheet? Will it hold heavy weight? |
Heat Resistance | Will it face high or low temperatures? |
Chemical Exposure | Will it come into contact with water or chemicals? |
Wear and Tear | Will it need to handle friction or heavy use? |
Special Requirements | Does it need to meet safety rules or resist fire? |
Magnetic installation is great for temporary setups. For permanent projects, adhesive mounting works better. Follow the instructions to match the method to your needs. Whether for windows or wall panels, the right choice ensures long-lasting results.
Putting up acrylic sheets can be simple and easy. By preparing well and focusing on details, you can make it look professional. Whether you’re improving walls or installing acrylic windows, this guide will help. Follow these steps to enjoy the stylish look and useful features of acrylic sheets for a long time.
FAQ
How do I cut acrylic sheets without cracking them?
Use a fine-tooth blade or a plastic cutter. Clamp the sheet securely and score it multiple times before snapping it along the scored line.
Can I install acrylic sheets outdoors?
Yes, you can! Acrylic sheets are weather-resistant and UV-stable. Just ensure you use outdoor-grade adhesives or mounting hardware for durability.
What’s the best way to clean acrylic sheets?
Use a soft cloth with warm, soapy water. Avoid harsh chemicals or abrasive sponges to prevent scratches. Dry with a clean, lint-free cloth for a streak-free finish.
Tip: Regular cleaning keeps acrylic sheets looking new and shiny!
See Also
Exploring Acrylic Sheets for Light Box Design: Tips and Insights
Choosing the Ideal Acrylic Sheet for Your Light Box Needs
Key Components for Achieving Professional Acrylic Light Box Quality
Best Acrylic Sheet Choices for Stunning Light Box Displays
Understanding Acrylic Light Panels: Varieties, Uses, and Setup
