Exterior Light Box Maintenance

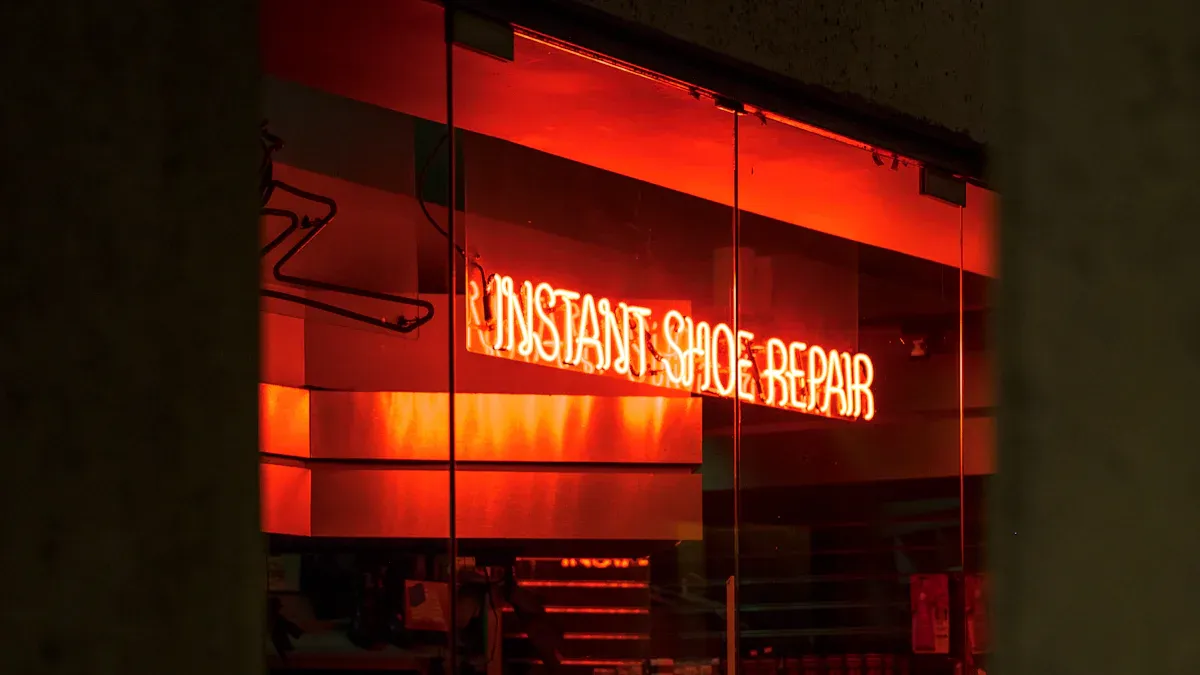
You might wonder how to keep your outdoor lights working well year after year. Exterior Light Box Maintenance feels simple once you get started. When you clean your fixtures often, you prevent dirt and dust from wearing them down. Early inspections help you spot small problems before they turn into big repairs. These easy steps help your lights last longer, shine brighter, and keep your space safer.
Key Takeaways
Cleaning outdoor light fixtures often stops dirt from building up. This helps them stay bright. Try to clean them two times each year for best results.
Check your exterior light box often to find problems early. Look for wires that are loose, seals that are broken, and wet spots. This can help you avoid expensive fixes.
Make a simple plan for maintenance. Do weekly checks, monthly deep cleaning, and yearly servicing. This keeps your lights safe and working well.
Use insulated tools when you work on your light box. This keeps you safe from electrical dangers. Always turn off the power before you start any work.
If your lights flicker or you hear buzzing, call an expert. These signs can mean there are big electrical problems that need a professional.
Exterior Light Box Maintenance
Importance
You may not think about taking care of your exterior light box until it stops working. If you look after your lights often, they stay bright and keep your home safe. Checking your fixture helps you find problems early. This means you can fix small issues before they get worse. Outdoor fixtures deal with rain, wind, and dust all the time. If you do not clean them, water might get inside and break the fixture. You should also check that wires and connections are tight. If a wire is loose, your light might flicker or stop working.
Tip: Exterior electric boxes let you check and fix things quickly. You can find problems fast before they get bad.
Outdoor fixtures must follow safety rules. Many have ground connections and circuit breakers. These parts help keep you safe from water and electricity dangers. Good wiring and tight connections help your fixture work well. When you care for your exterior light box, you keep your home and people safe.
Benefits
Taking care of your exterior light box gives you many good things. Your fixture lasts longer and works better. Clean fixtures shine more light, so your yard or walkway is safer at night. You also save money because you do not need to buy new fixtures often.
Here is a simple table to help you remember what to do for your fixture:
Frequency | Maintenance Task |
|---|---|
Weekly | Ventilation Check: Make sure air spaces are clear. |
Electrical Check: Make sure wires are tight. | |
Monthly | Internal Inspection: Look at LED panels for damage. |
Deep Cleaning: Clean inside parts for better light. | |
Quarterly | Comprehensive Check: Look at all parts and hardware. |
Functionality Test: Make sure everything works right. | |
Annual | Component Replacement: Change old or broken parts. |
Calibration: Adjust light levels for best results. |
If you follow this plan, your fixture stays in great shape. You get bright light and feel safe. Taking care of your exterior light box does not take much time, but it helps a lot.
Cleaning Outdoor Light Fixtures
Cleaning Methods
You want your fixture to shine bright and last a long time. The best way to start is by turning off the power. Safety comes first every time you clean outdoor light fixtures. Grab a soft cloth or sponge and dip it in mild soapy water. Gently wipe away dirt and dust from the fixture. Rinse with a clean cloth and dry the fixture well. This step keeps moisture from causing rust or corrosion.
Never use harsh cleaners, abrasive pads, or anything with ammonia or alcohol. These can damage the finish on your fixture. If you have brass or copper, you can make a paste with lemon juice, salt, and cornstarch to remove tarnish. For copper, baking soda mixed with lemon juice works well. To clean oxidized outdoor light fixtures, spray a mix of white vinegar and water, then scrub gently.
Tip: Always dry your fixture completely before turning the power back on. This helps prevent electrical problems and keeps your fixture safe.
Cleaning Frequency
You should clean outdoor light fixtures at least twice a year. If you live in a place with lots of dust or pollution, you may need to clean outdoor light fixtures more often. Dirt, dust, and bugs can build up fast. When you skip cleaning, your fixture gets dim and less effective. Poor lighting can lead to trips, falls, or even make your home less secure.
Regular cleaning keeps your fixture working well and saves you money. You avoid early replacements and keep your space safe. A clean fixture uses less energy and gives you better light. Make a habit of checking your fixture every few months. This simple step helps you spot problems early and keeps your outdoor area bright.
Inspecting and Securing Fixtures
Wire and Connection Checks
You want your exterior light box to work safely every day. Start by finding every fixture around your home. Walk around and look for each fixture, even the ones you do not use often. Check each fixture for damage. Look for cracks, rust, or loose parts. If you see anything wrong, write it down so you can fix it later.
Next, test each fixture. Turn the switch on and off. Make sure the light comes on right away and does not flicker. If a fixture does not work, check the wires and connections. Loose wires can cause lights to stop working or even start a fire. Look for old or damaged wiring. If you see wires that look worn out, you should replace them. Outdated wiring, overloaded circuits, and exposed parts are common problems. These can make your fixture unsafe.
Here is a simple way to check your fixtures:
Find all exterior fixtures.
Look for damage or loose parts.
Turn each fixture on and off.
Check wires and connections for wear.
Write down any problems you find.
Tip: If you see exposed wires or sparks, turn off the power and call a professional right away.
Hardware and Lens Security
You want your fixture to stay strong in any weather. Check the screws and bolts on each fixture. Make sure they are tight. If you find a loose screw, tighten it with a screwdriver. A loose fixture can fall or let water inside. Water can damage the fixture and make it stop working.
Look at the lens or cover on each fixture. The lens keeps dirt and water out. If the lens is cracked or missing, replace it. A clean, secure lens helps your fixture shine bright and last longer. Test the bulb in each fixture. If a bulb does not work, put in a new one. Always use the right type of bulb for your fixture.
You can use this checklist to keep your fixtures safe:
Check the lens for cracks or dirt.
Replace broken or missing lenses.
Test and replace bulbs as needed.
Note: Keeping your fixture secure helps prevent accidents and keeps your home safe.
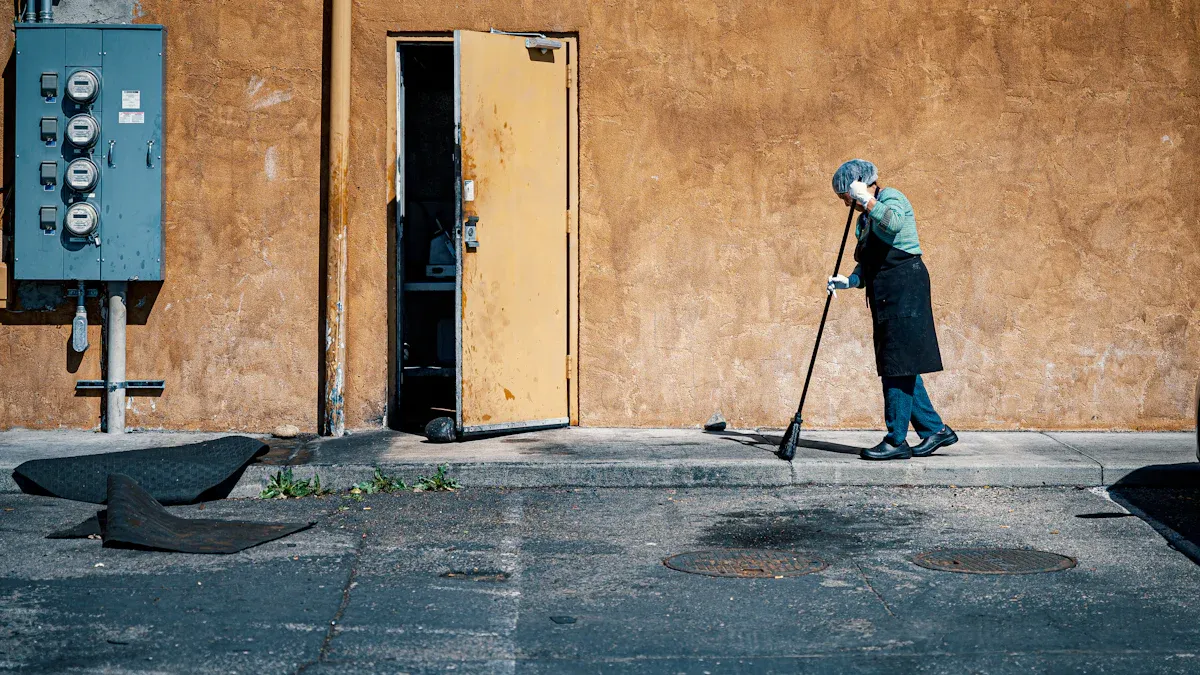
Trimming and Protecting
Vegetation Control
You might not notice how fast plants grow around your outdoor lights. Overgrown bushes and tree branches can block your fixture and make your yard look dark. When leaves or branches cover your fixture, you lose light and create shadows. This can make it hard to see at night and even cause accidents.
Here are some things you should watch for:
Plants or shrubs growing too close to your fixture
Branches hanging over your fixture and blocking the light
Leaves or vines touching the fixture and trapping moisture
You should trim back any plants that get near your fixture. This helps your fixture shine bright and keeps your walkway or driveway safe. When you keep the area clear, you also stop bugs and animals from making a home near your fixture. If you check your fixture every month, you can catch these problems early.
Tip: Use garden shears or clippers to cut back plants. Always check that nothing touches your fixture after you finish.
Weather Protection
Outdoor lights face all kinds of weather. Rain, snow, wind, and sun can all damage your fixture. If you do not protect your fixture, you might see broken bulbs, rust, or even frayed wires. Sometimes, pests can get inside and chew on the wiring. You want your fixture to last, so you need to think about weatherproof options.
Common problems from bad weather include:
Frayed or broken wiring
Corrosion and rust on your fixture
Broken mounts or stands
Faded or cracked finish
You can help your fixture by using weatherproof covers and making sure you install it in a safe spot. Choose a fixture that is made for outdoor use and has a weatherproof rating. Surge protectors can keep your fixture safe during storms. You can also try solar or battery-powered lights for extra safety. If you want the best results, look into weatherproofing outdoor light fixtures with special sealants or gaskets.
Note: Always use the right bulb for your fixture and check for damage after big storms. A little care goes a long way to keep your fixture working.
Sealing Outdoor Light Fixtures
How to Seal Outdoor Light Fixture
You want your outdoor lights to last through rain, snow, and wind. Learning how to seal outdoor light fixture is the best way to keep water out and make your lights last longer. When you seal an outdoor light fixture, you stop moisture from sneaking in and causing problems like mold, rust, or even electrical shorts. If you skip this step, water can get inside and make your lights fail much faster.
Here’s a step-by-step guide to help you seal an outdoor light fixture and create a waterproof seal:
Clean the area around your fixture with a damp towel. Dirt can stop the seal from sticking.
Set up your workspace. Lay down a drop cloth and keep paper towels close for quick cleanups.
Cut the tip of your sealant tube at a 45-degree angle. This helps you control the flow.
Find the spot where your fixture meets the wall or mounting board. Start at the top and squeeze the sealant along the edge, moving downward.
Seal the other side, but leave a tiny gap at the bottom. This lets any trapped moisture escape.
Tip: Always use supplies for sealing outdoor light fixtures that are made for outdoor use. This helps you create a waterproof seal that stands up to the weather.
Seal an Outdoor Light Fixture
Choosing the right products makes a big difference when you seal an outdoor light fixture. Silicone sealant works better than regular caulk because it stays flexible and waterproof for years. You should always seal any cracks or gaps where water could sneak in. High-quality, weatherproof silicone caulk or sealant gives you the best results.
Here’s a quick table to help you pick the right product:
Product Name | Key Features |
|---|---|
Supreme Silicone Window & Door Sealant | 100% more flexible, 30-minute rain-ready, Lifetime mold-free product protection |
All Purpose Silicone 1® Sealant | Permanently flexible, Same-day rain-ready, 7-year mold-free product protection |
When you seal an outdoor light fixture the right way, you prevent water from getting inside. This lowers the risk of mold, wood rot, and electrical hazards. Poor sealing lets water in and makes your lights fail faster. If you want your lights to last, always create a waterproof seal and check your fixtures after heavy rain. Sealing outdoor light fixtures is a simple job, but it keeps your home safe and your lights shining bright.
Maintenance Schedule
Keeping your exterior light box in top shape is easy when you follow a simple schedule. You do not need to spend hours each week. Just a few minutes here and there can make a big difference. Let’s break down what you should do and when.
Daily/Weekly Tasks
You do not have to check your light box every day, but a quick look each week helps you spot problems early. Here are some easy things you can do:
Walk around your yard and look at each fixture. Make sure the lights turn on and off.
Wipe away any dirt, spider webs, or leaves from the surface.
Check that nothing is blocking the light, like plants or decorations.
Look for signs of water or bugs inside the fixture.
Make sure the seal around the fixture is still tight. If you see gaps, you may need to reseal it soon.
Tip: If you notice a loose seal, fix it right away. This keeps water out and helps your light last longer.
Monthly/Quarterly Checks
Once a month, take a closer look at your fixtures. This is the time to do a deeper clean and check for hidden problems. Here’s what you should focus on:
Remove the cover or lens and clean both sides with a soft cloth.
Inspect the seal around the edges. If you see cracks or peeling, apply a new seal to keep moisture out.
Check all screws and bolts. Tighten any that feel loose.
Test the bulbs and replace any that are dim or burned out.
Trim back any plants that have grown near the fixture.
Look for rust or corrosion. If you find any, clean it off and apply a protective seal to stop it from spreading.
Note: Keeping the seal in good shape is one of the best ways to protect your light box from rain and bugs.
Annual Servicing
Once a year, give your exterior light box a full checkup. This is when you want to be extra careful and make sure everything works as it should. Many people call a professional for this step, but you can do most of it yourself if you feel comfortable.
Here’s a table that shows what you should do during annual servicing:
Step | Description |
|---|---|
Performance Check | Check the whole lighting system to make sure it works well. |
Fixture and Lens Cleaning | Clean and adjust fixtures and lenses for the best light output. |
Damage Repair | Fix any damage you find during your inspection. |
LED Inspection and Replacement | Look at all LEDs and replace any that do not work. |
Transformer and Timer Check | Make sure transformers and timers work the right way. |
Warranty Honor | Use your warranty if you find any defects in fixtures or LEDs. |
During your annual check, pay special attention to the seal on every fixture. Weather and time can wear it down. If you see any cracks or gaps, remove the old seal and put on a fresh one. This step keeps water and dirt out all year long.
Callout: A strong seal is your best defense against leaks and electrical problems. Do not skip this step!
If you follow this schedule, your exterior light box will stay bright, safe, and reliable. You will spend less money on repairs and replacements. You will also feel good knowing your home looks great and stays well-lit.
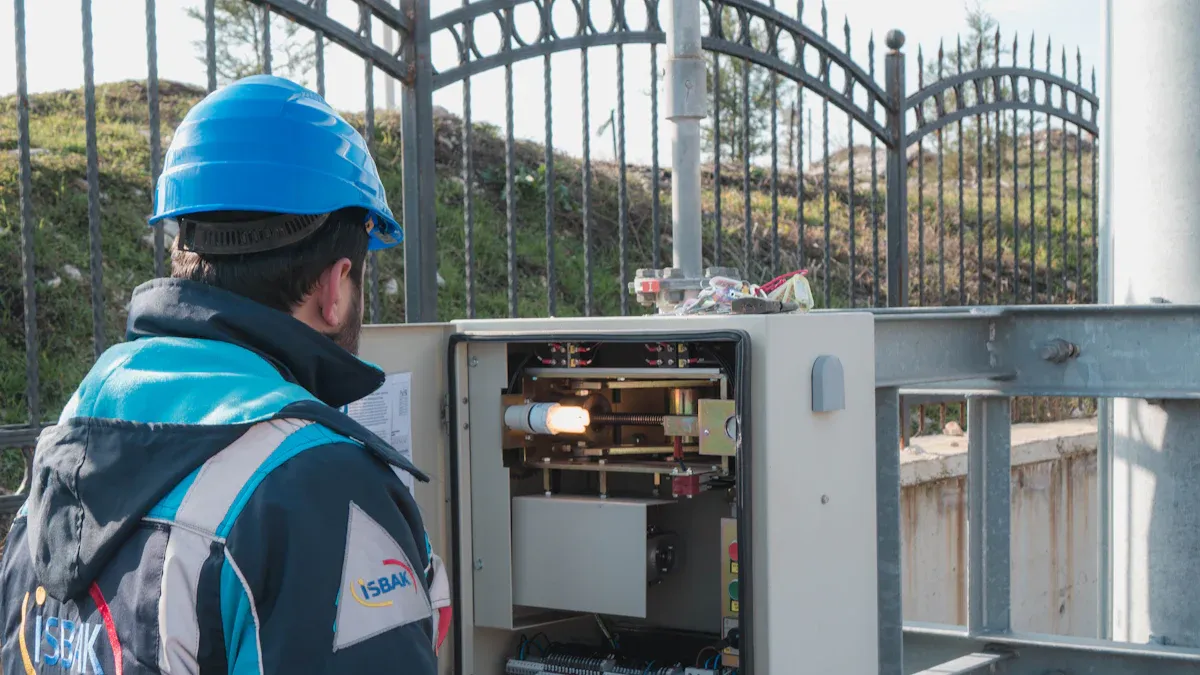
Safety Precautions
Power Off Procedures
Before you start working on your exterior light box, you need to make sure you stay safe. The first step is to turn off the power at the circuit breaker. You do not want any electricity running to the fixture while you clean, inspect, or seal it. After you flip the breaker, grab a voltage tester and check the wires. This tool helps you confirm that no power is flowing. You should never touch wires until you know they are not live.
Here are some simple steps to follow every time you work on your light box:
Turn off the power at the circuit breaker.
Use a voltage tester to check that the wires are safe.
Wear rubber gloves and safety glasses to protect yourself.
Keep a first-aid kit nearby in case of accidents.
Tip: Always double-check the power before you start. This habit keeps you safe and helps you avoid shocks.
If you plan to seal your fixture, make sure the area is dry and the power is off. Water and electricity do not mix. You want to avoid any risk while you apply a new seal or inspect the old one.
Insulated Tools
When you work on your exterior light box, you need the right tools. Insulated tools protect you from electrical hazards. These tools have special handles that stop electricity from reaching your hands. Safety rules say you must use insulated tools when you work near exposed wires or circuit parts.
Check out this table to see the standards for insulated tools:
Standard | Requirement |
|---|---|
OSHA 1910.335(a)(2)(i) | Use insulated tools near exposed, energized conductors or circuit parts. |
NFPA 70E | Follow safety rules around energized circuits. |
ASTM F1505-01 | Tools must be rated for up to 1,000VAC and tested at 10,000VAC. |
IEC 900 | Sets standards for insulated hand tools. |
You should always use tools that meet these standards. They help you stay safe when you tighten screws, check connections, or seal the fixture. Insulated tools are tested to handle high voltage, so you can work with confidence. If you need to seal a fixture, these tools let you work safely even if you miss a step.
Insulated tools protect you from shocks.
Safety rules require these tools for electrical work.
Tools must pass strict tests to earn a high voltage rating.
Callout: Never use regular metal tools when you seal or repair your exterior light box. Insulated tools give you extra protection and peace of mind.
Troubleshooting
Common Issues
You might run into problems with your exterior light box from time to time. Some issues pop up more often than others. If you know what to look for, you can fix small problems before they get worse.
Moisture Ingress: Water can sneak inside your light box if the seal breaks or wears out. You should check the seals often. If you see water or fog inside, clean the area and use weather-resistant materials. Try installing a drip loop to help water flow away from the box.
Corrosion of Connections: Rust can build up on wires and connectors, especially in humid places. You should inspect connections and clean off any corrosion. Use connectors that resist rust and add a protective coating to keep them safe.
Improper Installation: Sometimes, the light box is not mounted right. If you notice it feels loose or wobbly, check the mounting and follow the manufacturer’s instructions. You can lower risks by using a licensed electrician for installation.
Tip: Regular inspections help you catch these problems early. You save money and keep your lights working longer.
If you keep up with maintenance, you avoid big repair bills. Businesses that stick to a schedule spend less on emergency fixes. You also make your light box last longer and work better, which means you get more value for your money.
When to Call a Professional
Some problems need expert help. You should not try to fix everything yourself. Here are signs you need to call a licensed electrician:
Frequent Flickering Lights: If your lights flicker all the time, you might have loose wires or an overloaded circuit.
Buzzing or Humming Noises: Strange sounds from your fixture can mean trouble with electrical parts or connections.
Electrical Shocks or Sparks: If you feel a shock or see sparks, stop using the light box and call a professional right away.
Callout: Safety comes first. If you notice any of these warning signs, get help from an expert. You protect yourself and your property.
Regular maintenance saves you thousands of dollars over time. Emergency repairs cost much more and can disrupt your business. By staying proactive, you keep your light box shining bright and your wallet happy.
Taking care of your exterior light box keeps your home bright, safe, and looking great. When you follow a simple schedule, you spot problems early and avoid big repairs. Here’s why regular maintenance matters:
Cleaning and checking seals keeps your lights working longer.
Routine checks help you avoid costly emergencies.
By sticking to your maintenance plan, you boost performance and save money. Stay proactive, and call a professional if you see something you can’t fix. Your lights—and your peace of mind—will thank you!
FAQ
How often should I clean my exterior light box?
You should clean your light box at least twice a year. If you live in a dusty or rainy area, check it every few months. Regular cleaning keeps your lights bright and helps them last longer.
What should I do if water gets inside my light box?
First, turn off the power. Remove the cover and dry everything with a soft cloth. Check the seal for damage. If you see cracks, reseal the fixture. If you feel unsure, call a professional for help.
Can I use any bulb in my outdoor light box?
No, you should always use bulbs rated for outdoor use. Look for weatherproof or damp-rated bulbs. Using the wrong bulb can cause damage or make your light box unsafe.
Why does my light box keep flickering?
Flickering often means you have a loose bulb or a bad connection. Try tightening the bulb first. If that does not help, check the wires. If you still see flickering, you may need an electrician.
Do I need special tools for maintenance?
Yes, you should use insulated tools when working on your light box. These tools protect you from electrical shocks. Always check that your tools meet safety standards before you start any work.
See Also
Creating Unique Acrylic Light Boxes: Design And Setup Guide
Understanding Acrylic Light Box Panels: Specs And Performance Insights
Exploring Acrylic Light Box Production: Manufacturing And Quality Insights
Evaluating Acrylic Materials For Light Boxes: Durability And Aesthetics
Perfecting Acrylic Light Box Features: Key Elements For Quality
