DIY Acrylic Light Box Projects: 5 Creative Designs You Can Make at Home

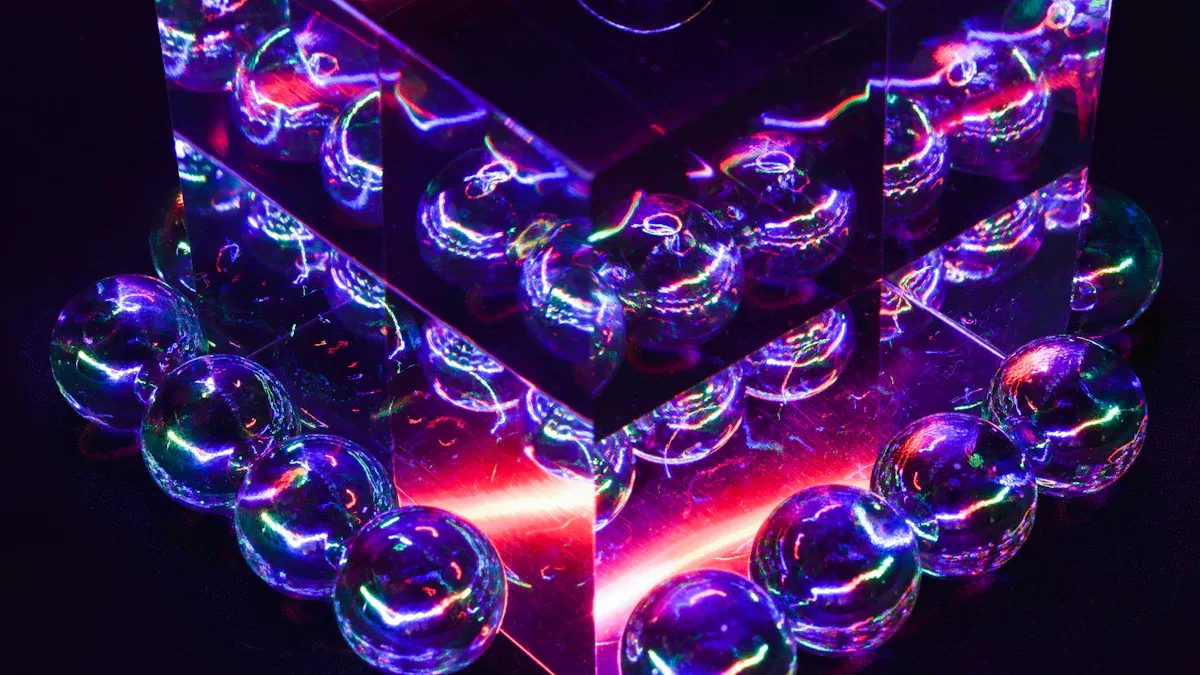
Think about turning a plain room into something amazing with your own acrylic light box. This DIY project is simple and great for making your home unique. Whether you prefer gentle light or bright patterns, you’ll enjoy how fun and flexible these light boxes are.
Key Takeaways
Collect key items like acrylic sheets, LED strips, and a strong frame to begin your DIY acrylic light box project.
Use clear steps for each design. Cut, engrave, and put it together carefully for great results.
Make your light box special with colorful acrylic sheets or cool patterns to show your creativity and style.
Materials and Tools for Acrylic Light Boxes
Making your own acrylic light box starts with the right supplies. Let’s go step by step so you feel ready to begin.
Important Materials for an Acrylic Light Box
To create a strong and cool light box, you’ll need these:
Acrylic sheets: These are the main part of your project. Acrylic is tough and doesn’t break easily, making it safe to use. A 2024 study showed 68% of people value strength over looks when picking materials.
LED strips: These give the light. Choose energy-saving ones with brightness control.
Wood or plastic frame: This keeps the acrylic sheets in place.
Adhesive or screws: Use these to attach the frame and panels together.
Tools for Cutting and Putting Together Acrylic Panels
Cutting and building with acrylic needs care. Here are the best tools to use:
Cutting Tool Type | What It Does |
|---|---|
CNC Milling | Cuts acrylic smoothly with spinning tools. |
Laser Cutter | Makes exact cuts for detailed designs. |
Table Saw | Great for cutting straight, long lines. |
Special Acrylic Bits | Helps drill neat holes with accuracy. |
For smooth cuts, use a fine blade and go slow on curves. A steady hand is key!
Extra Supplies for Personalizing Your LED Light Box
Want your light box to stand out? Try these extras:
Colored acrylic sheets: Add bright colors to your design.
Engraving tools: Use these to carve quotes or designs.
Dimmable LED strips: Change the brightness to match your mood.
These extras help you make a light box that shows off your style.
Minimalist Edge-Lit Quote Box
Materials and Tools for a Minimalist Design
To create a sleek and modern edge-lit quote box, you’ll need just a few materials and tools. Start with acrylic sheets as the base for your design. These sheets are durable and perfect for engraving. You’ll also need LED strips to provide the lighting effect. Choose dimmable ones if you want to adjust the brightness. A sturdy wooden or plastic frame will hold everything together.
For tools, grab a laser cutter or engraving tool to carve your favorite quote into the acrylic. You’ll also need adhesive or screws to assemble the frame. If you want to add a pop of color, consider using colored acrylic sheets for a unique touch.
Step-by-Step Guide to Make an LED Light Box with Quotes
Here’s how to make an LED light box with your favorite quote:
Prepare the acrylic sheet: Cut it to your desired size using a laser cutter or table saw. Smooth the edges with sandpaper.
Engrave your quote: Use an engraving tool to carve your chosen words into the acrylic. Keep the design simple for a clean, minimalist look.
Attach the LED strip: Use heat shrink tubes to connect the LED to the fiber optic bundle. Apply superglue or epoxy to secure the connection.
Assemble the frame: Place the engraved acrylic sheet into the frame. Use adhesive or screws to hold it in place.
Test the lighting: Plug in the LED strip and adjust the brightness. Make sure the light highlights the engraved quote beautifully.
Tips for Engraving and Highlighting Quotes
When engraving, choose a bold font that’s easy to read. Test your design on a scrap piece of acrylic before working on the final sheet. To make the quote stand out, position the LED strip along the edges of the acrylic. This creates a glowing effect that draws attention to the words. If you’re using colored acrylic sheets, pick a color that complements the lighting for an extra wow factor.
Color-Changing LED Night Light
Materials and Tools for a Color-Changing Light Box
To create a color-changing LED night light, you’ll need a few essential materials. Start with acrylic sheets as the base. These are durable and perfect for diffusing light evenly. You’ll also need an LED strip that supports color-changing effects. Look for energy-efficient options that let you adjust brightness and colors. A sturdy frame, made of wood or plastic, will hold everything together. Don’t forget adhesive or screws to secure the parts.
For tools, grab a laser cutter or table saw to cut the acrylic sheets to size. A soldering iron might come in handy for connecting the LED strip. If you want to personalize your design, consider using engraving tools or colored acrylic sheets.
💡 Tip: Choose LED strips with smart features like remote control or motion sensors. They’re practical and add a modern touch to your DIY project.
How to Make an LED Light Box with Color Effects
Here’s how to make an LED light box with stunning color effects:
Cut the acrylic sheets: Use a laser cutter to shape the sheets. Smooth the edges with sandpaper for a clean finish.
Prepare the LED strip: Attach the strip to the frame. Make sure it’s evenly placed for consistent lighting.
Assemble the frame: Secure the acrylic sheets to the frame using adhesive or screws.
Connect the LED strip: Solder the wires to a power source. Test the connection to ensure the lights work.
Customize the design: Add patterns or engravings to the acrylic sheets for a unique look.
This step-by-step process makes it easy to create a light box that’s both functional and stylish.
Using LED Strips for Dynamic Lighting
LED strips are perfect for creating dynamic lighting effects. They’re energy-efficient, consuming up to 80% less energy than traditional bulbs. By adjusting the intensity of red, green, and blue LEDs, you can produce a wide spectrum of colors. Smart LED systems even let you control the lighting remotely, making it easy to set the mood for any occasion.
Dynamic lighting isn’t just for home decor. It’s used in theaters, concerts, and entertainment venues to enhance experiences. The interplay of colored light with music can evoke emotions and make events unforgettable. For your DIY project, choose LED strips with low SDCM values. This ensures consistent color quality, giving your acrylic light box a professional finish.
🌟 Fun Fact: Color-changing LED night lights are not only beautiful but also practical. Many come with safety features like motion sensors, making them ideal for families with kids or elderly members.
Personalized Photo Acrylic Light Box
Materials and Tools for a Photo Light Box
To make a photo acrylic light box, gather these materials. Use acrylic sheets as the base. They are strong and smooth, perfect for showing photos. Get an LED strip to light up your design. Pick one with brightness control for better results. A sturdy wooden or plastic frame will hold everything together. Use adhesive or screws to secure the parts.
For tools, you’ll need a laser cutter or table saw to cut the acrylic sheets. A soldering iron can help connect the LED strip. To make it more unique, try engraving tools or colored acrylic sheets.
📊 Market Trends:
Evidence Description
Key Insights
Customization Trends
People want personalized items, so companies now offer light boxes with adjustable features and sizes.
Aesthetic Appeal
Sleek, customizable designs are popular as people prefer personalized products.
Social Media Influence
Apps like Instagram and TikTok increase demand for stylish, portable light boxes.
Step-by-Step Instructions for Mounting Photos
Follow these steps to make a photo acrylic light box:
Cut the acrylic sheets: Use a laser cutter or table saw to size them. Smooth the edges with sandpaper.
Print your photo: Use good-quality photo paper. Make sure it fits the acrylic sheet.
Attach the photo: Place the photo behind the acrylic sheet. Use double-sided tape or glue to hold it.
Add the LED strip: Attach the strip to the frame. Place it evenly for good lighting.
Put the frame together: Secure the acrylic sheets and photo in the frame with screws or glue.
This is easy to do and great for beginners. The soft light will make your photos look amazing.
Tips for Printing and Displaying Photos on Acrylic
Use matte photo paper to avoid glare. This keeps the image clear when lit from behind. Adjust your printer settings to make the photo brighter and sharper. Place the light box in a dim area. This makes the LED glow stand out and highlights the photo beautifully.
🛠 Performance Testing:
Testing Capability
Description
Photometry
Measures how much light is produced and spread.
Marketing claims verification
Checks if product claims are true.
Competitive benchmarking
Compares how well the product works against others.
Environmental testing
Tests how durable the product is in different conditions.
By using these tips, you’ll create a beautiful and useful acrylic light box.
Geometric Pattern LED Light Box
Materials and Tools for Geometric Designs
To make a geometric pattern LED light box, gather these materials. Start with acrylic sheets. They are strong and let light shine through beautifully. You’ll also need an LED strip to light up your design. Pick one with adjustable brightness for better control. A sturdy wood or plastic frame will hold everything together. Use adhesive or screws to secure the parts tightly.
For tools, a laser cutter works best for cutting neat shapes. If you don’t have one, a table saw with a fine blade can also work. Engraving tools are great for adding extra details to your design. These materials and tools are reliable and often used in design projects. They help ensure your light box turns out just as you imagine.
How to Make an LED Light Box with Patterns
Follow these steps to create your geometric light box:
Cut the acrylic sheets: Use a laser cutter to make your shapes. Smooth the edges with sandpaper.
Draw your pattern: Sketch your design on paper first. Then, use engraving tools to transfer it onto the acrylic sheets.
Add the LED strip: Place the strip along the frame’s edges. Spread it evenly for smooth lighting.
Build the frame: Attach the acrylic sheets and LED strip to the frame using screws or adhesive.
Test the lights: Plug in the LED strip and adjust the brightness. Watch how the light brings your design to life.
Lighting is very important here. Test how the light interacts with your patterns. This helps create a beautiful and eye-catching effect.
Ideas for Unique Geometric Patterns
Geometric designs give you lots of options. Start with simple shapes like triangles, squares, or circles. For a more detailed look, combine shapes into a mosaic-style design. Mandala patterns can add a fancy touch. Feeling creative? Try layering acrylic sheets with different designs for a 3D effect.
Want something colorful? Use colored acrylic sheets for a bright and bold display. The mix of light and color will make your project stand out.
💡 Tip: Think about how light will shine through your design. This can turn a simple pattern into a stunning piece of art.
Nature-Inspired Silhouette Acrylic Light Box

Materials and Tools for a Silhouette Design
To make a nature-themed silhouette light box, gather these items. Start with acrylic sheets as your base. These are strong and let light pass through nicely, perfect for this project. You’ll also need an LED strip to light up your design. Pick one with adjustable brightness for the best results. A sturdy wooden or plastic frame will hold everything together. Use adhesive or screws to secure the parts tightly.
For tools, use a laser cutter or engraving tool to carve your shapes. If you don’t have a laser cutter, a fine-blade table saw works too. Sandpaper is needed to smooth rough edges. A soldering iron might help connect the LED strip.
🌿 Tip: Try colored acrylic sheets for a special look. Green or blue can mimic trees or water.
Step-by-Step Guide to Create Stunning Silhouettes
Follow these steps to make your nature-inspired silhouette:
Cut the acrylic sheets: Shape the sheets with a laser cutter. Smooth edges with sandpaper.
Draw your design: Sketch trees, mountains, or animals on paper first.
Engrave the silhouette: Use an engraving tool to transfer your design onto the acrylic.
Add the LED strip: Place the strip along the frame’s edges. Space it evenly for smooth lighting.
Build the frame: Attach the acrylic sheets and LED strip using screws or adhesive.
Test the lights: Plug in the LED strip and adjust brightness. Watch your silhouette glow beautifully.
Here’s why silhouettes are so eye-catching:
Evidence | Description |
|---|---|
Silhouettes in perception | Our brains easily recognize silhouette shapes, making them stand out. |
Personal observations | Adding personal touches makes your artwork more unique. |
Tips for Layering and Backlighting Acrylic Panels
Layering acrylic sheets adds depth to your design. Carve different parts of your scene on separate sheets. For example, put a tree on the front layer and a mountain on the back. This creates a 3D effect when lit.
Backlighting makes your silhouette pop. Place the LED strip behind the acrylic sheets for a glowing effect. Adjust brightness to highlight details. If using colored acrylic sheets, pick colors that match well for a balanced look.
🌟 Pro Tip: Mix translucent and opaque acrylic sheets. This creates cool contrasts and makes your project stand out.
Making DIY acrylic light boxes is a cheap way to decorate. You can create something special that shows your personality. These projects are easy, even if you’re new to crafting. Try out your ideas and see your designs glow with amazing light!
FAQ
How long does it take to make an acrylic light box?
It usually takes 2–4 hours, depending on the design and your experience. Simple designs are quicker, while detailed ones need more time.
Can I use regular bulbs instead of LED strips?
LED strips work best. Regular bulbs don’t distribute light evenly and may overheat the acrylic, causing damage.
What’s the best way to clean acrylic sheets?
Use a soft microfiber cloth and mild soap. Avoid abrasive cleaners or rough cloths—they can scratch the surface.
See Also
The Benefits Of Selecting DIY Acrylic Light Box Kits
Exploring Uses, Advantages, And Tips For Acrylic Light Boxes
Creating Stunning Displays With Acrylic Light Box Designs
