Choosing the Perfect Backlit Art Frame: Materials, Styles, and Installation Tips

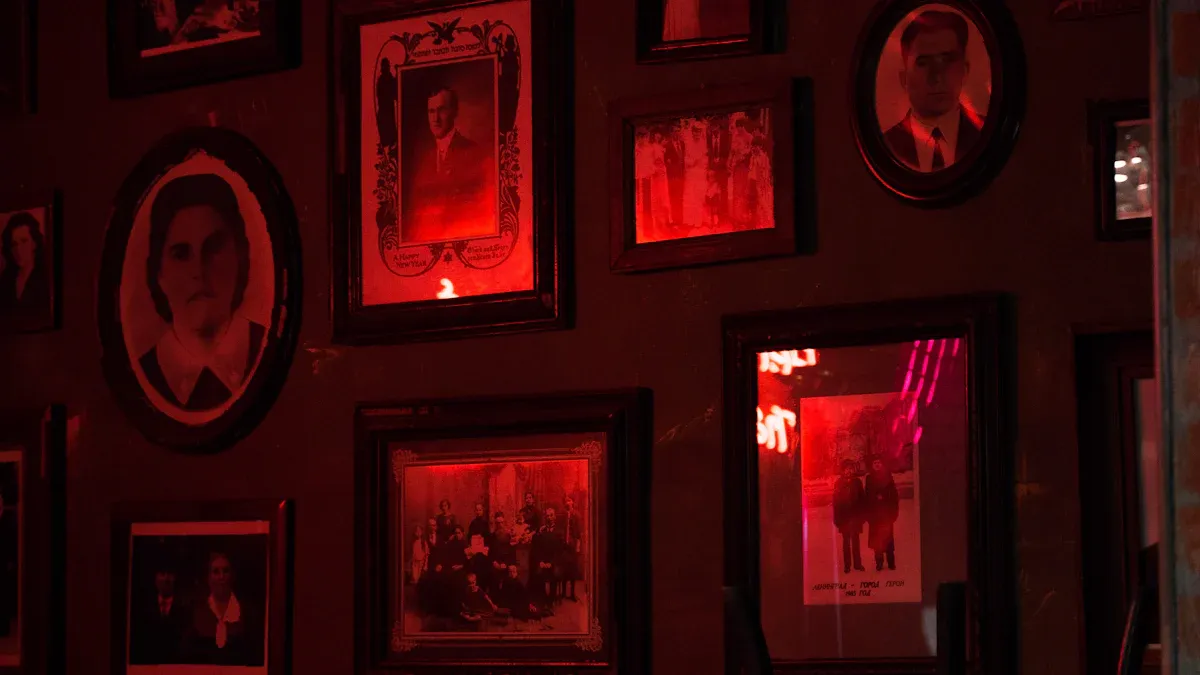
Picking a backlit art frame feels exciting, doesn’t it? You want your frame to match your art and your space. Think about materials and how backlit frames shine with the right lighting. RGB backlit frames can make your art pop with color. You’ll notice how backlit signage changes the mood in a room. Proper placement and lighting keep your art looking its best. Backlit frames, especially rgb backlit frames, work great for backlit signage and backlit signs.
Tip: Try rgb backlit frames for bold, colorful effects on your favorite art or even backlit signs.
Key Takeaways
Pick the best frame material. Wood feels warm. Metal is strong and lasts long. Acrylic is light and costs less.
Make sure your frame style fits your room. Modern frames look good in simple rooms. Classic frames make rooms look fancy. Custom frames give a special look.
Plan how you will put up your frame. Measure your space first. Choose the right LED lights. Test the lights to make sure the glow is even.
Be safe when you wire and hang your backlit frame. This keeps your home and art safe.
Backlit frames make your art brighter. They make your space look better. You can use them at home, work, or events to get attention.
Materials
Choosing the right materials for your backlit art frame can make a huge difference in how your art looks and lasts. You have a few main options: wood, metal, and acrylic. Each one brings its own style, feel, and effect on lighting. Let’s break down what you need to know.
Wood, Metal, Acrylic
You see wood frames everywhere. They feel warm and classic. Wood comes in many finishes, from natural grain to painted or carved designs. You can pick from different tree species and widths, so it’s easy to match your backlit art frame to your room. Metal frames look sleek and modern. They work well if you want a minimal or industrial vibe. Metal frames resist moisture and warping, which makes them great for humid rooms. Acrylic frames are lightweight and cost less. They work best for temporary displays or standard-sized art. Acrylic doesn’t have the same high-end look as wood or metal, but it can still give you a clean, simple style.
Pros & Cons
Here’s a quick look at the advantages and disadvantages of each material:
Frame Material | Advantages | Disadvantages |
|---|---|---|
Wood | Traditional look, many finishes, customizable, easy to assemble | Can warp with moisture, finish may chip, natural flaws, hard to adjust corners, may harm art with off-gassing |
Metal | Durable, strong, modern, easy to adjust, good for humid rooms, easy DIY assembly | Fewer style options, limited sizes, more complex assembly, back may stay exposed |
Acrylic | Lightweight, affordable, easy for temporary use | Less stylish, not as durable, best for short-term or simple displays |
Tip: If you want a high-quality lightbox frame that lasts, metal is a smart choice for humid spaces. Wood works well for cozy rooms, but you need to keep it dry.
Lighting & Appearance
The material you choose changes how your backlit frames look and how the light shines through. Wood frames can block some light, so you get a softer glow around your art. Metal frames let more light escape at the edges, which can make your lightbox frame look sharp and bright. Acrylic frames spread light evenly, but sometimes they look less rich than wood or metal. If you want your art to pop, try a lightbox frame with a metal edge and a bright LED strip. For a softer, classic look, wood frames with warm lighting work best.
When you pick materials, think about your décor. Here are some ideas:
Metal frames fit well in modern or industrial rooms. You see them in spaces with iron shelves, reclaimed wood tables, or metallic chairs.
Wood frames match rustic or traditional styles. They look great with natural textures and warm colors.
Acrylic frames work for simple, clean spaces or when you want to swap out art often.
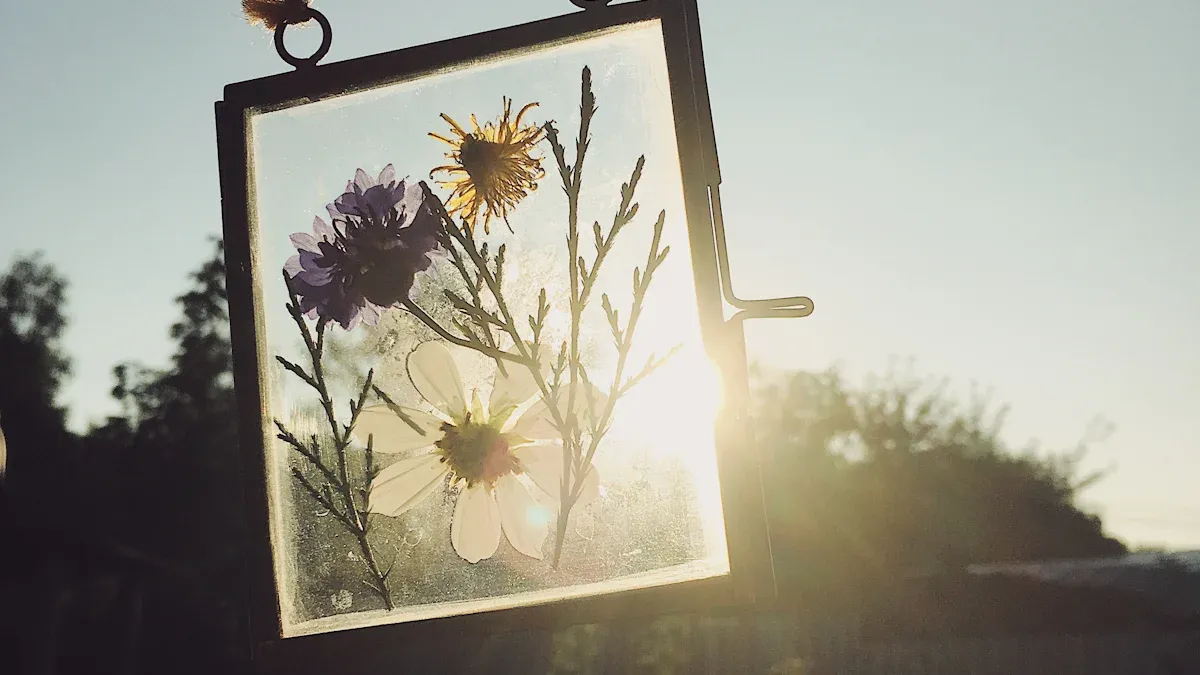
If you love backlit film posters, pay attention to how the light spreads. The best types of lightboxes use acrylic panels to diffuse light evenly behind the poster. This stops bright spots and keeps your art looking smooth. Some lightbox frames use special films or layers to help with this.
You’ll find many types of lightboxes out there. Some use wood for a classic touch, others use metal for a bold look, and some mix materials for a unique style. Always check how the frame and lighting work together. The right combo makes your backlit art frame stand out and keeps your art safe.
Note: Not all materials work the same way with lighting. Test your frame with your art and lightbox before you hang it up.
Styles
When you pick a backlit art frame, style matters just as much as material. The right style can make your art stand out and give your space a special feel. Let’s look at some popular styles and how you can match them to your room and artwork for maximum impact.
Modern & Minimalist
Modern backlit lightbox frames look clean and simple. You see straight lines, smooth edges, and very little decoration. These frames blend into your space and let your art do the talking. You can choose finishes like polished brass, satin brass, or even painted colors to match your décor. The main idea is to keep things subtle and elegant. If you want your backlit signage to look sleek, go for a modern or minimalist frame. This style works best with bold, high-contrast art because the frame will not distract from the image.
Clean lines
Simple shapes
Subtle finishes
Tip: Modern and minimalist frames help your backlit signage fit in with almost any room, from offices to living rooms.
Classic & Ornate
Classic and ornate frames bring a touch of tradition to your backlit signage. You might see carved details, gold leaf, or rich wood finishes. These frames work well in rooms with lots of character, like libraries or dining rooms. If your art has a vintage or detailed look, a classic frame can make it shine. Ornate frames add drama and can turn your backlit signage into a true centerpiece.
Decorative edges
Rich finishes
Traditional shapes
Note: Classic frames can make your backlit art frame feel more formal and timeless.
Custom Backlit Art Frame
Sometimes, you want something unique. Custom backlit art frames let you pick the size, lighting, and materials that fit your vision. You can choose special lighting, like RGB LEDs, to change the mood of your backlit signage. You might want a frame that matches your furniture or a special matting to highlight your art. Custom options give you control over every detail, so your backlit signage has the maximum impact.
Choose your own size and shape
Pick lighting color and brightness
Match materials to your décor
If you want your backlit signage to stand out, custom frames are the way to go.
No matter which style you choose, always think about how your frame and backlit signage will work with your art and your room. The right style brings everything together and makes your art pop.
Installation
Pre-Install Checklist
Before you start installing your backlit art frame, you want to make sure you have everything ready. Good preparation saves time and helps you avoid mistakes. Here’s a quick checklist to guide you:
Decide on the best placement for your backlit frame. Look for a spot where the lightbox will stand out but not get direct sunlight.
Measure the wall space. Make sure you have enough room for the frame and any wiring.
Check the depth behind your art. You need space for the integrated led lighting and cables.
Gather your tools and supplies. You’ll need LED tape lights, a power supply, connectors, cleaning wipes, and mounting hardware.
Plan your power source. Make sure there’s an outlet nearby or plan for safe wiring.
Clean the area behind the frame. Dust and dirt can affect how the lightbox frame sticks and shines.
Tip: Always double-check your measurements before you start. A little planning goes a long way!
Step-by-Step Guide
You’re ready to install your backlit frame. Follow these steps for a smooth setup:
Plan Your Project: Look at your frame and decide where the LED tape lights will go. Make sure you have enough space behind the frame for the lights and wires.
Pick the Right LED Tape: Choose LED tape lights that match your needs. Think about brightness, color temperature, and if you want color-changing options.
Prepare the Area: Clean the back of the frame and the wall. Gather all your supplies so you don’t have to stop halfway.
Measure and Cut: Measure each side of your frame. Cut the LED tape at the marked points so it fits perfectly.
Attach the LED Tape: Peel off the backing and stick the LED tape 3 to 4 inches from the edge on the back of the frame. Press firmly so it stays in place.
Connect Power and Controls: Use connectors or solder the wires to hook up the LED tape to the power supply and any controls.
Test the Lights: Plug in the power and turn on the lights. Check that everything works and the light spreads evenly.
Hide the Wires: Use clips or ties to keep wires neat and out of sight behind the frame.
Final Cleaning: Wipe down the frame and the lightbox surface. Make sure nothing blocks the light.
Note: If you see bright spots or uneven lighting, check that your LED strips are straight and spaced evenly. Use a diffuser panel if needed to spread the light smoothly.
Common Mistakes to Avoid
Don’t let the LED strips bunch up or cross over each other. This can cause hotspots.
Always use a good diffuser with your backlit frame. This helps the lightbox glow evenly.
Replace any faulty LEDs right away. Bad bulbs can make your art look dull.
Electrical & Safety
Safety is one of the key considerations when you install a backlit frame. Here’s what you need to know:
Secure all power supplies, transformers, and ballasts. Keep them easy to reach and give them at least 3 feet of space for safe servicing.
Protect all wiring from damage. Keep cables at least 1¼ inches from the edge of any framing or cover them with steel plates.
Use only listed and approved equipment. Always follow the instructions from the manufacturer.
Make all wire splices in proper outlet boxes with the right insulating covers.
Use a 20-amp branch circuit for your lighting. Calculate the load at 125% for safety.
Install a disconnect switch within 50 feet of your lightbox frame. You should be able to lock it in the open position.
Bond and ground all metal parts using copper wires. Never rely on earth grounding alone.
Keep your backlit frame away from anything that could catch fire. Make sure you have enough clearance above areas where cars or people move.
For portable or collapsible backlit fabric frames, use GFCI protection and the right cords for wet or dry spaces.
Tip: Warm color temperatures like 2700K work great for traditional art. High CRI lighting shows colors as the artist intended. Always match your lighting to your art for the best effect.
Maintenance
You want your backlit art frame to look amazing for years. Regular care keeps your lightbox shining bright and your art safe.
Dust the frame and lightbox surface with a soft cloth. Avoid harsh cleaners that can scratch acrylic or metal.
Check the LED strips every few months. Replace any that flicker or dim.
If you notice flickering, test the lights at different brightness levels. Sometimes cheap LEDs cause more flicker, so choose high-quality ones for your backlit frame.
Make sure all wires and connectors stay tight and secure. Loose wires can cause dimming or even stop the lighting from working.
For collapsible backlit fabric frames, fold and store them carefully when not in use. This keeps the fabric smooth and the lighting even.
Note: If you see colors that look muddy or dull, check your lighting. High CRI and the right color temperature make a big difference in how your art looks.
With the right installation and care, your backlit art frame will turn any room into a gallery. Enjoy the glow!
Backlit Signage & Applications
Backlit signage changes the way you see art and information in any space. You get more than just a frame or a sign. You get a glowing display that grabs attention and sets the mood. Let’s look at how you can use backlit signage at home, in the office, and at events.
Home & Office
You can use backlit signage in your home to show off your favorite artwork, family photos, or even diplomas. The soft glow from a backlit frame makes your pictures stand out, even in low light. Many people use backlit signs to highlight special memories or to add a modern touch to their living room or hallway. In your office, backlit signage works great for displaying company logos, certificates, or important messages. You can use backlit signs for branding, making your business look more professional and welcoming.
Here are some common ways you might use backlit signage at home or work:
Display artwork, photos, or sketches with a bright, even glow.
Show off diplomas and certificates in a way that draws the eye.
Use backlit signs for company logos or business names to boost branding.
Add backlit signage to storefronts for better visibility and appeal.
Personalize your space with custom backlit signs that fit your style.
Tip: Backlit signage in your office can help with branding and make your workspace feel more creative.
Events & Displays
Backlit signage shines at events and displays. You can use backlit signs to create a dramatic effect that traditional frames just can’t match. With LED lighting, you control the brightness, color, and even the shape of the light. This means you can highlight artwork, logos, or messages in a way that fits the mood of your event. Backlit signage lets you project patterns or branding onto walls, making your display unique and memorable.
You can mount backlit signs on walls or ceilings and adjust the light to fit your needs. The sharp, focused light from backlit signage helps you avoid glare and brings out the best in your art or message. At trade shows, backlit signs draw people in and make your booth stand out. For parties or gallery shows, backlit signage adds a touch of magic and helps set the scene.
Note: Backlit signage gives you more control and creativity than regular frames. You can change the look of your space with just a few adjustments.
Backlit signage is not just for art. You can use backlit signs for menus, directions, or even interactive displays. The options are endless, and you can always find a way to use backlit signage to boost your branding and make your message shine.
Choosing the right backlit art frame comes down to three things: materials, styles, and installation. You want your backlit frame to fit your art and your room. Try UV-resistant glass or acrylic to protect your art. Pick mounting hardware that matches the weight of your backlit piece. Request mock-ups to see how different backlit frames look in your space. Good lighting and smart placement help your backlit art shine and last. Trust your eye and explore all your options!
FAQ
What makes a backlit art frame different from a regular frame?
A backlit art frame uses built-in lighting to make your artwork glow. You get a brighter, more eye-catching display. Regular frames do not have this feature, so your art may not stand out as much.
Can I use a backlit frame for any type of artwork?
You can use a backlit frame for most prints, posters, and photos. Some delicate or original art may need extra protection. Always check if your piece can handle the light and heat from a backlit display.
How do I clean my backlit art frame?
Use a soft, dry cloth to wipe the frame and cover. Avoid harsh cleaners. For acrylic covers, use a gentle cleaner made for plastic. Keep the backlit area free from dust so your art always looks its best.
Do backlit frames use a lot of electricity?
Most backlit frames use energy-efficient LED lights. You will not see a big jump in your electric bill. If you want to save more energy, choose a frame with a timer or dimmer switch.
See Also
Evaluating Acrylic Light Box Materials For Strength And Appearance
Key Acrylic Light Box Features To Achieve Expert Results
Creating The Perfect Light Box To Highlight Acrylic Art
Selecting The Best Acrylic Panels For Your Light Box Displays
Complete Guide To Buying Poster Display Cases And Their Features
